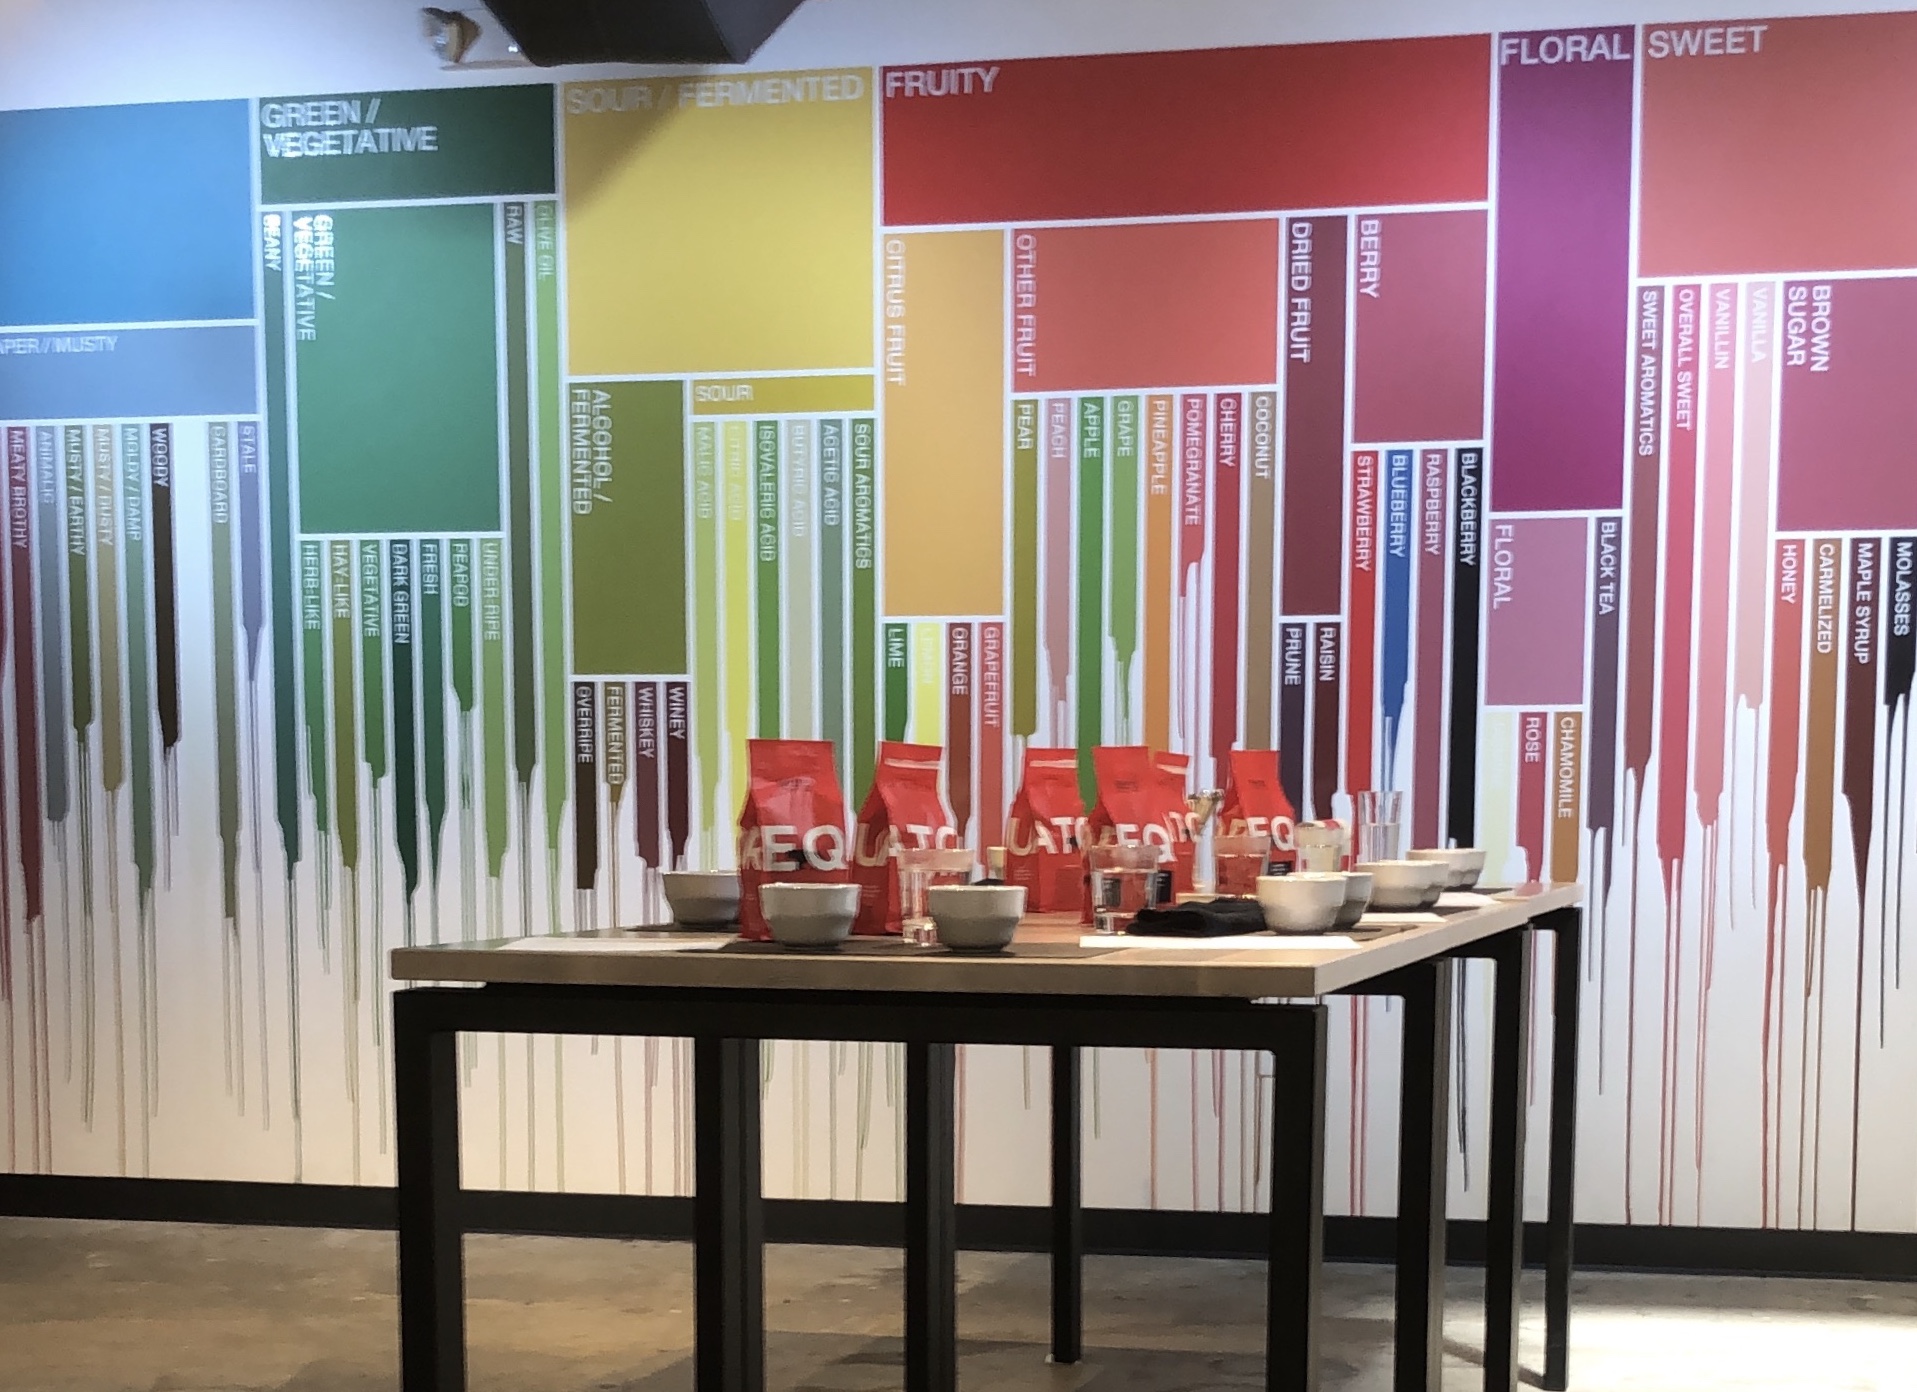
On Sunday April 1st, I had the pleasure of attending a cupping classes lead by Akash,  an employee of Equator Coffees & Teas based here in the Bay Area. Though I have watched cuppings on YouTube, via Starbucks videos, and even in person I personally never had the chance to do it. When I saw that there would be a cupping class at the Fellow Products playground I knew I had to go.
To give a quick background about Equator Coffees & Teas; Brooke McDonnell, Helen Russell, and Maureen McHugh were the original founders of the company. Brooke McDonnell was the original Master Roaster and Green Coffee buyer, and is currently the Chief Product Officer. Helen Russell is the CEO and strives to innovate the business and produce award winning coffee. And Maureen McHugh is the Vice-President of Operations, she focuses on working with people and projects that empower women, and coffee communities. These three women have been power houses in the coffee field since 1995. Check out their site for more information! https://www.equatorcoffees.com/
Now back to the main story. Inspired by what I learned at the cupping class I decided to try my hand at cupping at home. With no official materials and only a YouTube tutorial at my disposal I set off on my very first cupping. Here is what I did, and what I would change for my next cupping experiment.
I began with two types of coffee. I chose to use two of the Equator Coffees that I had just cupped so that I would have a nice baseline for my personal cupping. 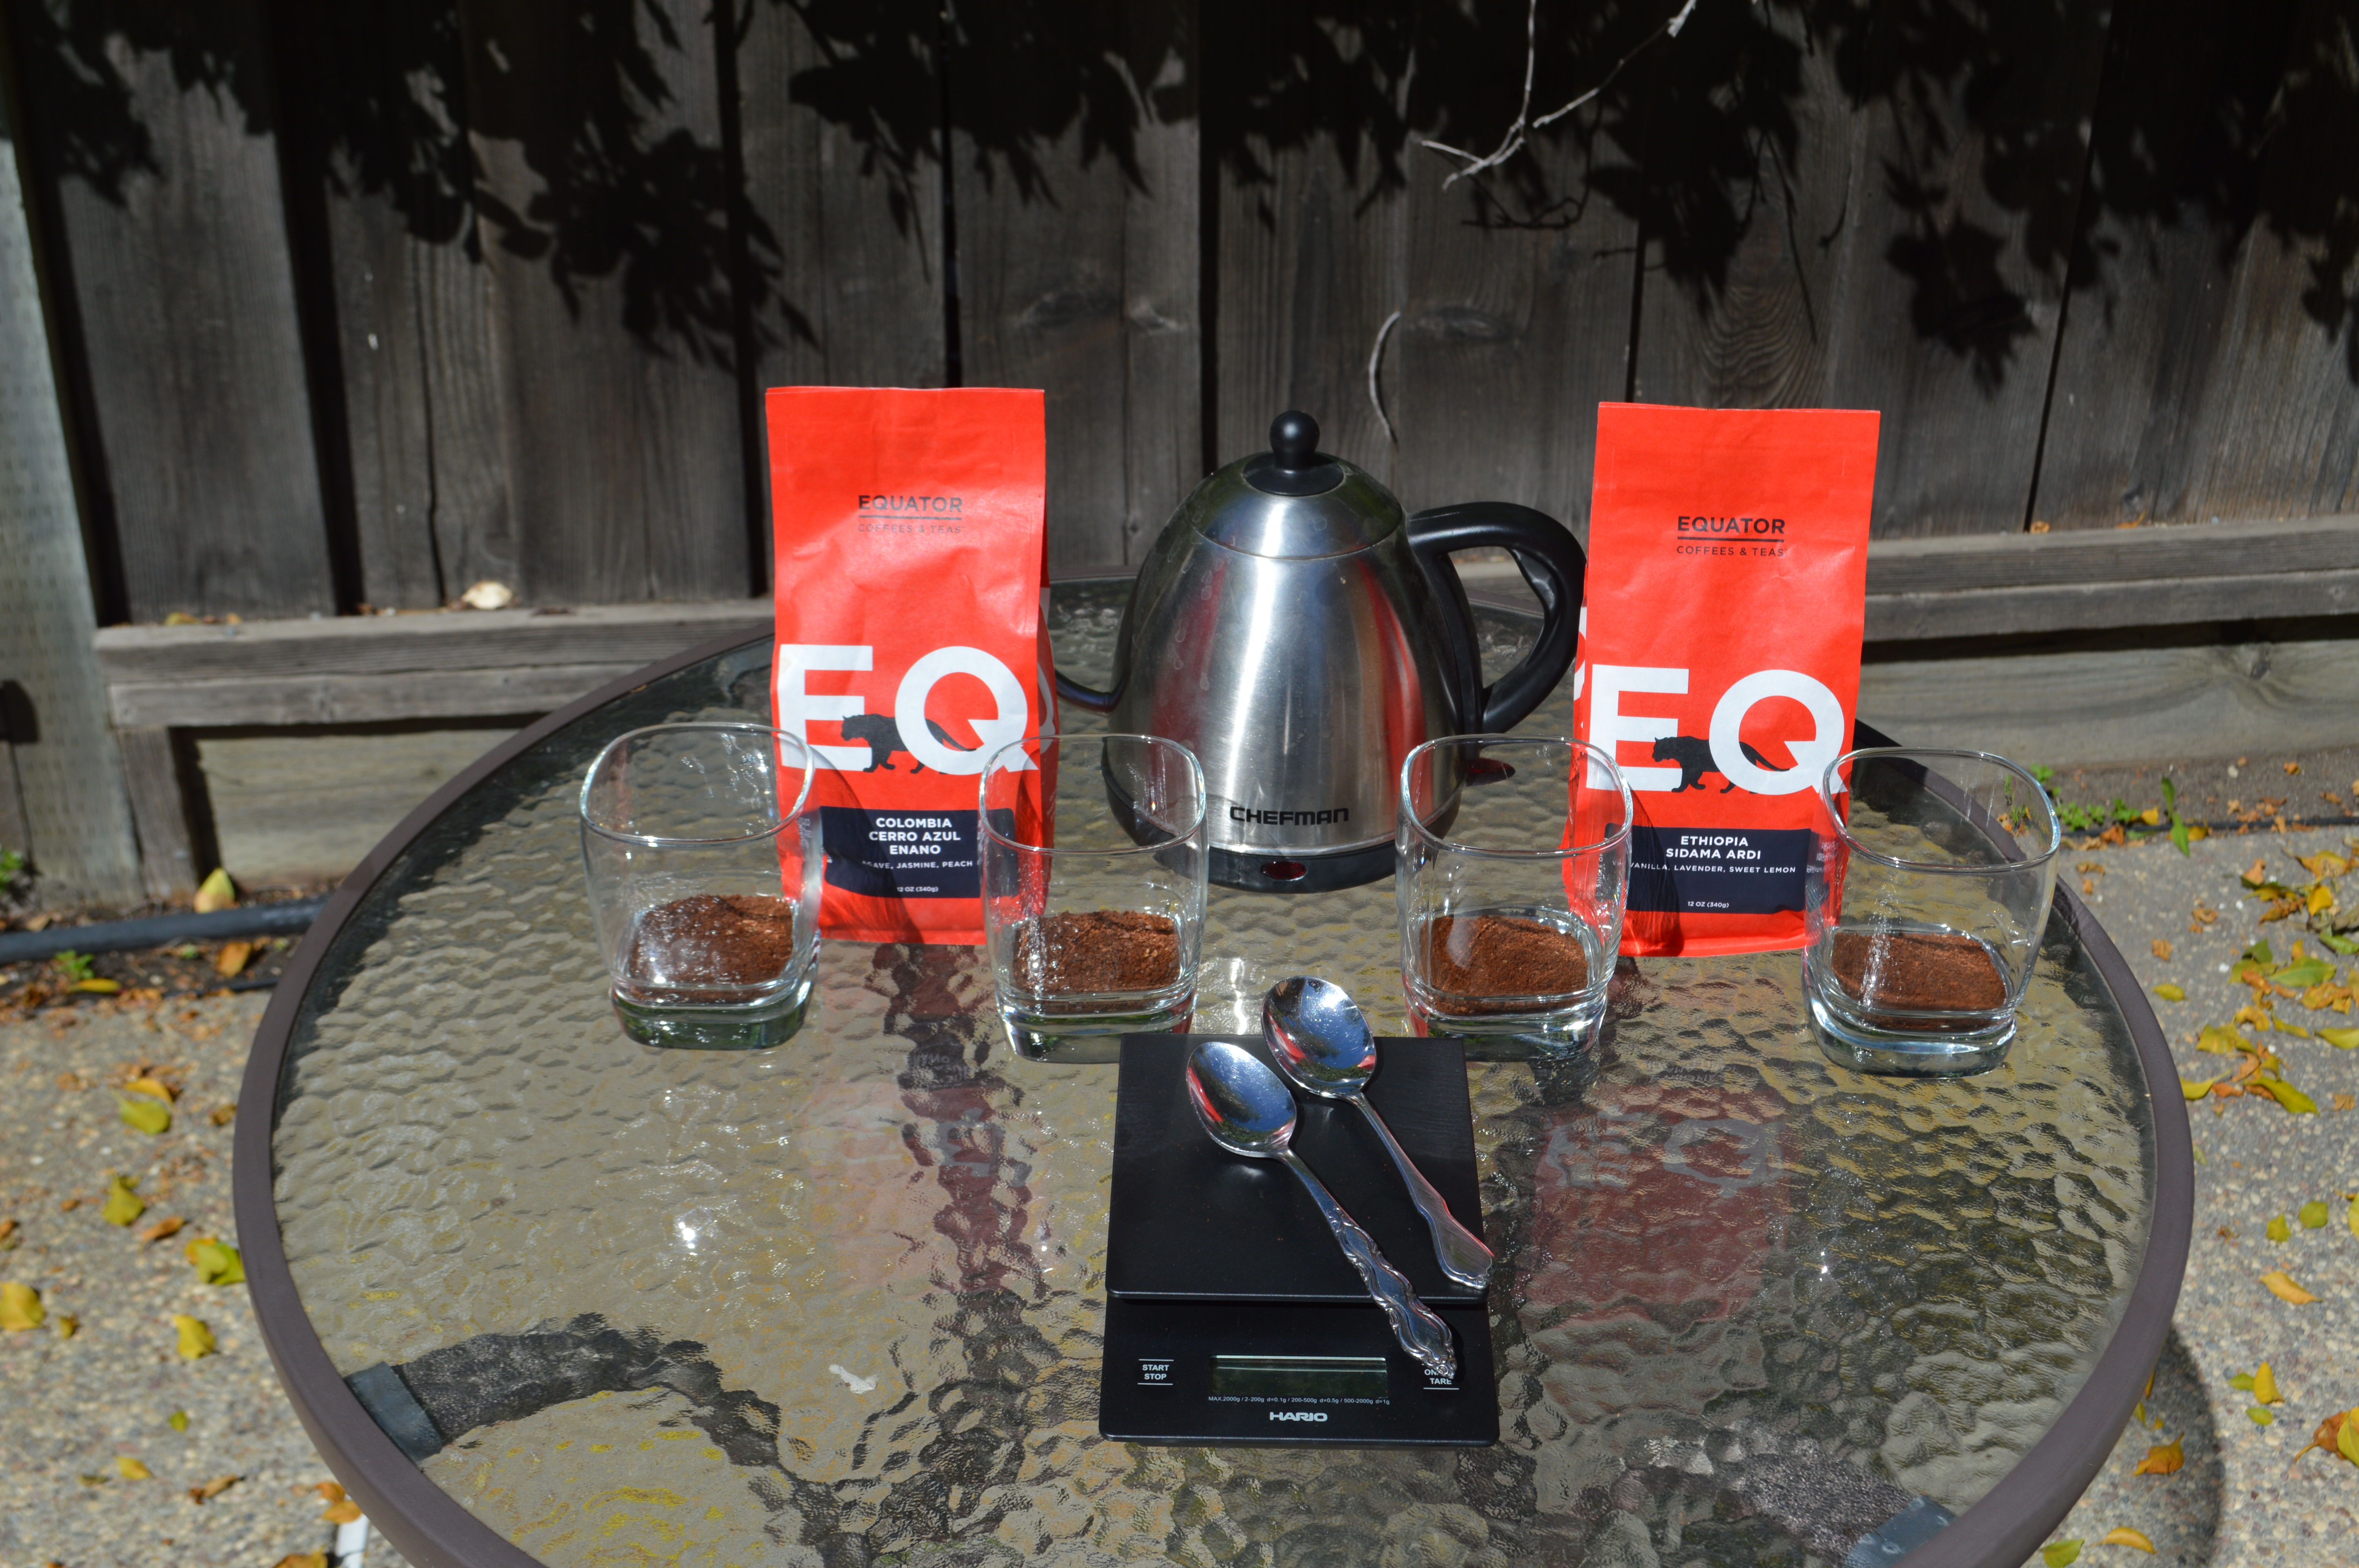 The first coffee I used was their Colombia Cerro Azul Enano. This special coffee has been loving labeled as a dwarf Gesha, or Enano in Spanish. They found that this coffee tree was much smaller and denser than the Gesha that they were anticipating yet the cup it yielded was very similar to that of a Gesha varietal. Equator Coffee decided to buy the lot and explore what the Enano had to offer. The second coffee I chose was their Ethiopia Sidama Ardi, this coffee is a Sun-dried or natural process coffee yielding a delicious berry and floral flavor.
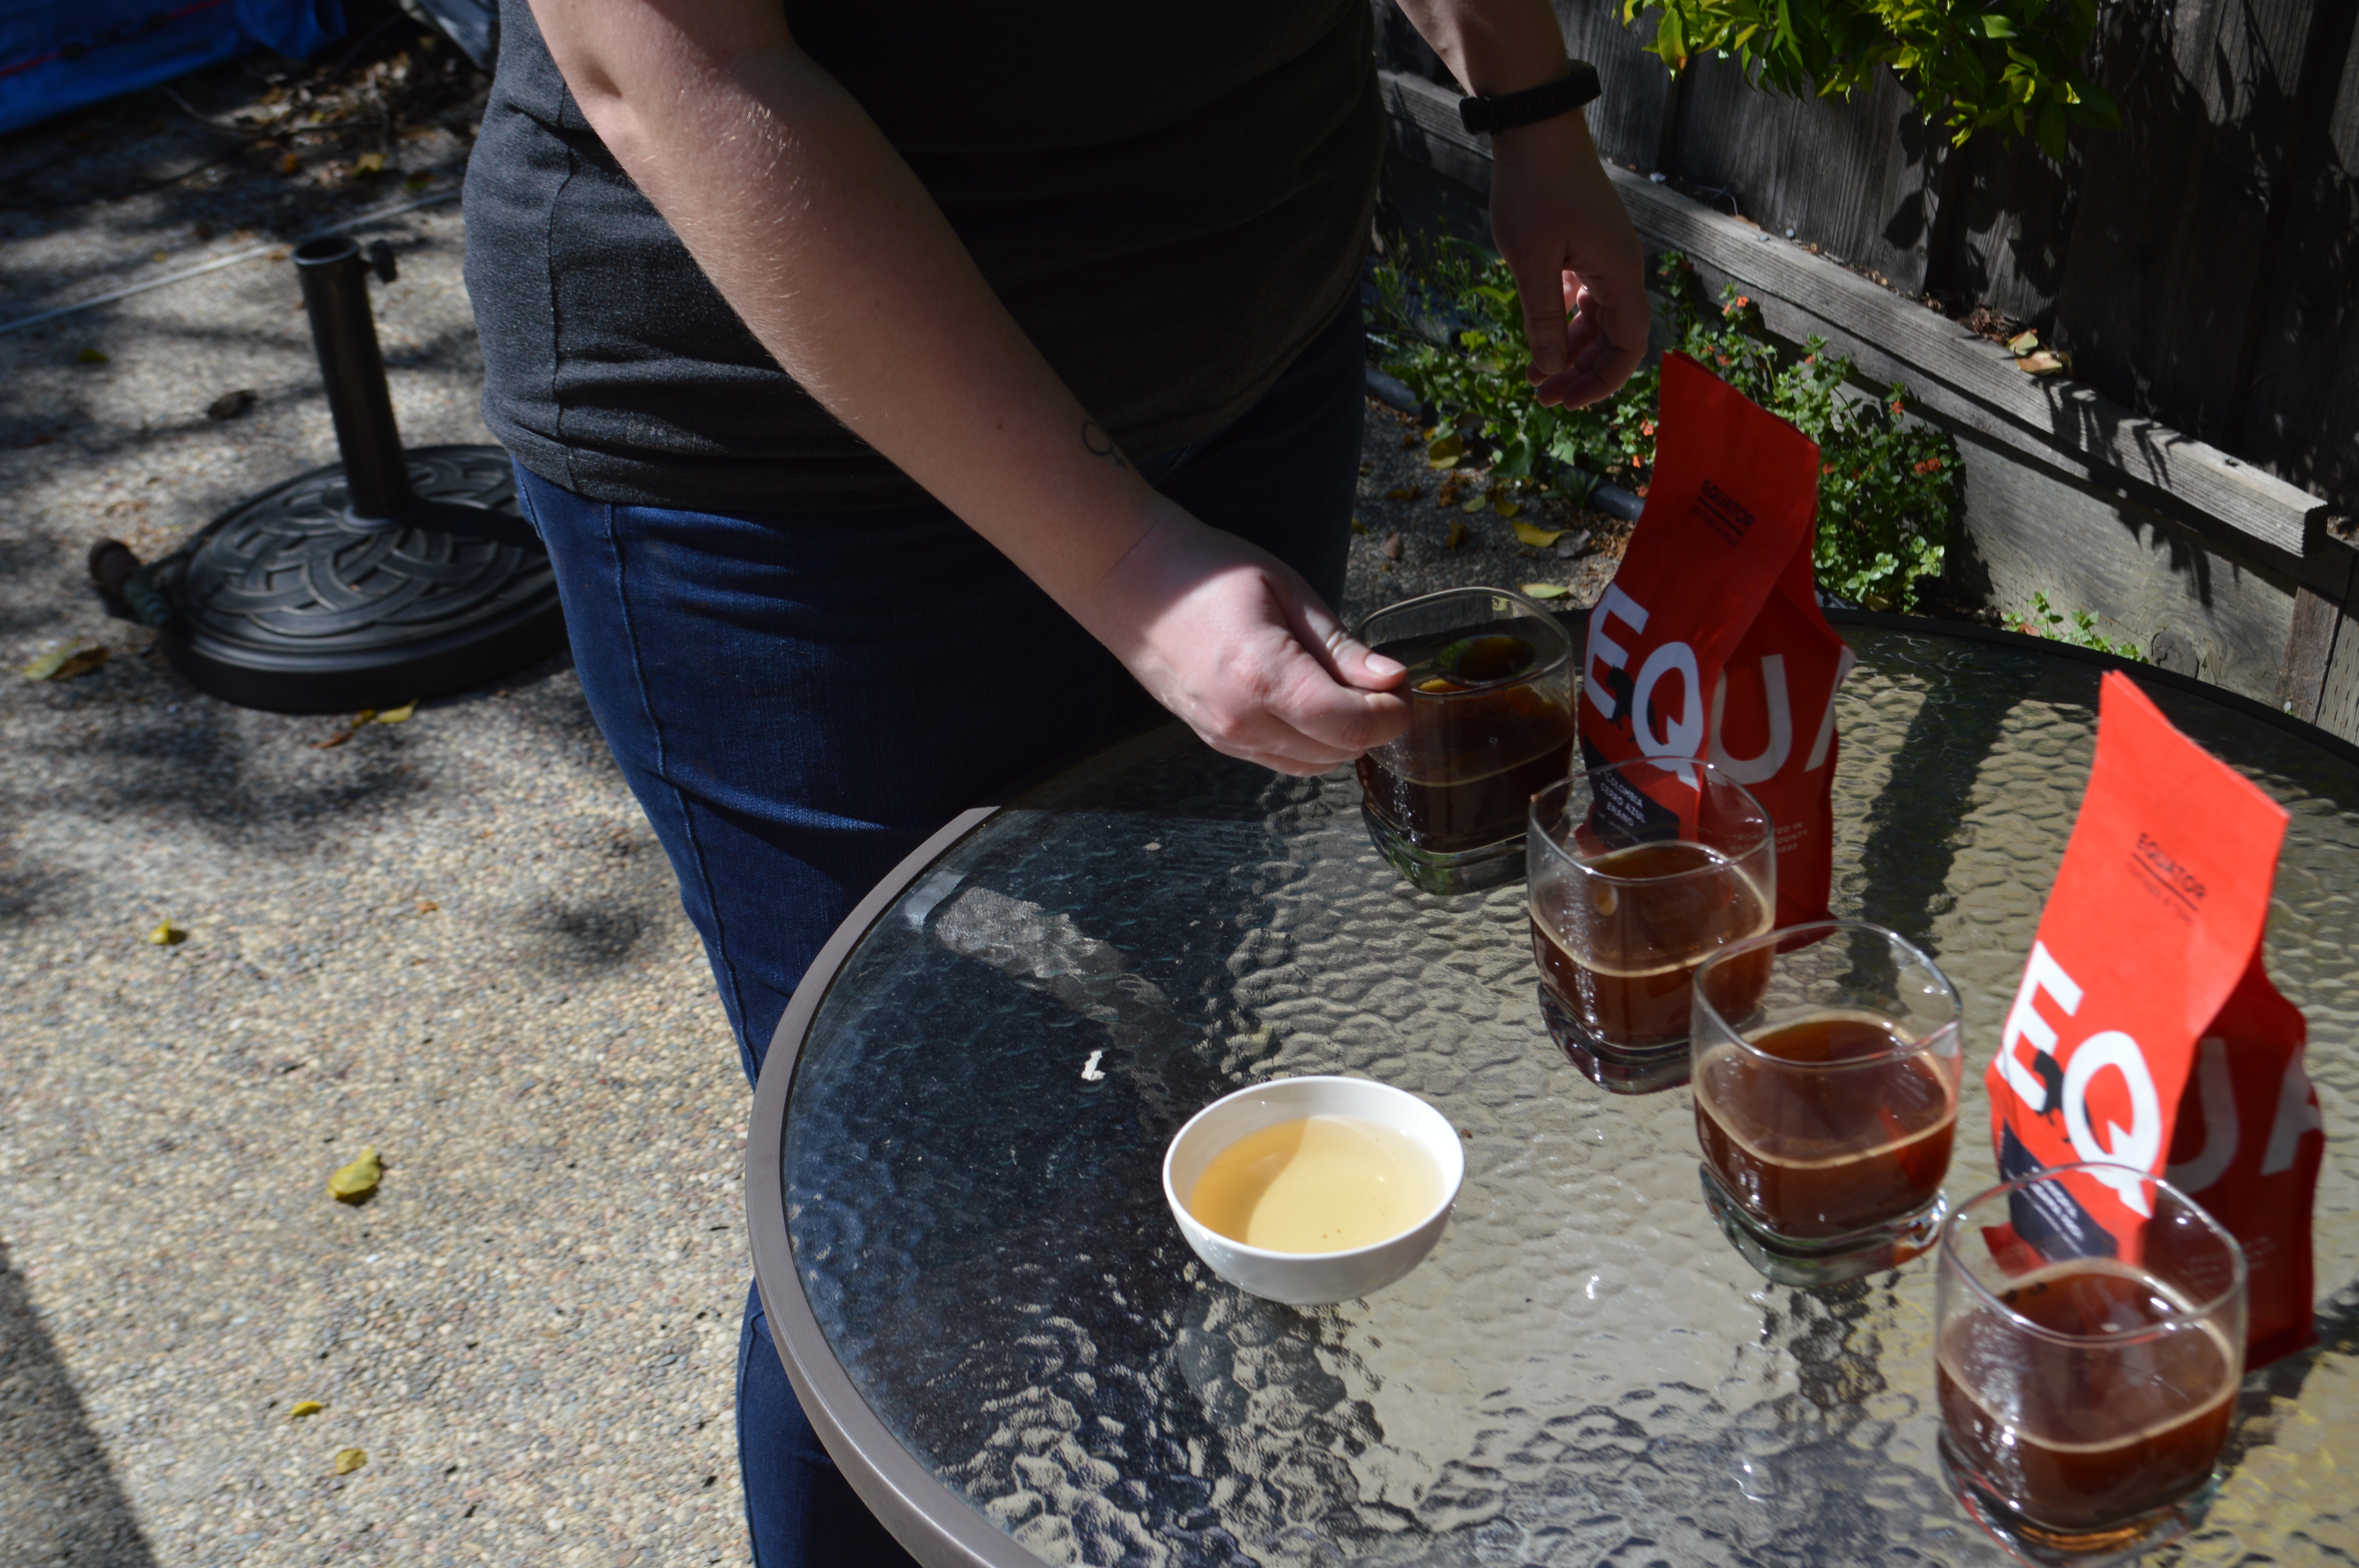
I started with  11g of medium-coarse ground coffee and 180g of 200-degree water. I chose to do two samples of each coffee and use the smallest glasses that I owned. I used my Hario V60 scale to precisely measure out 180g of water and time the extraction period.
When pouring the water, 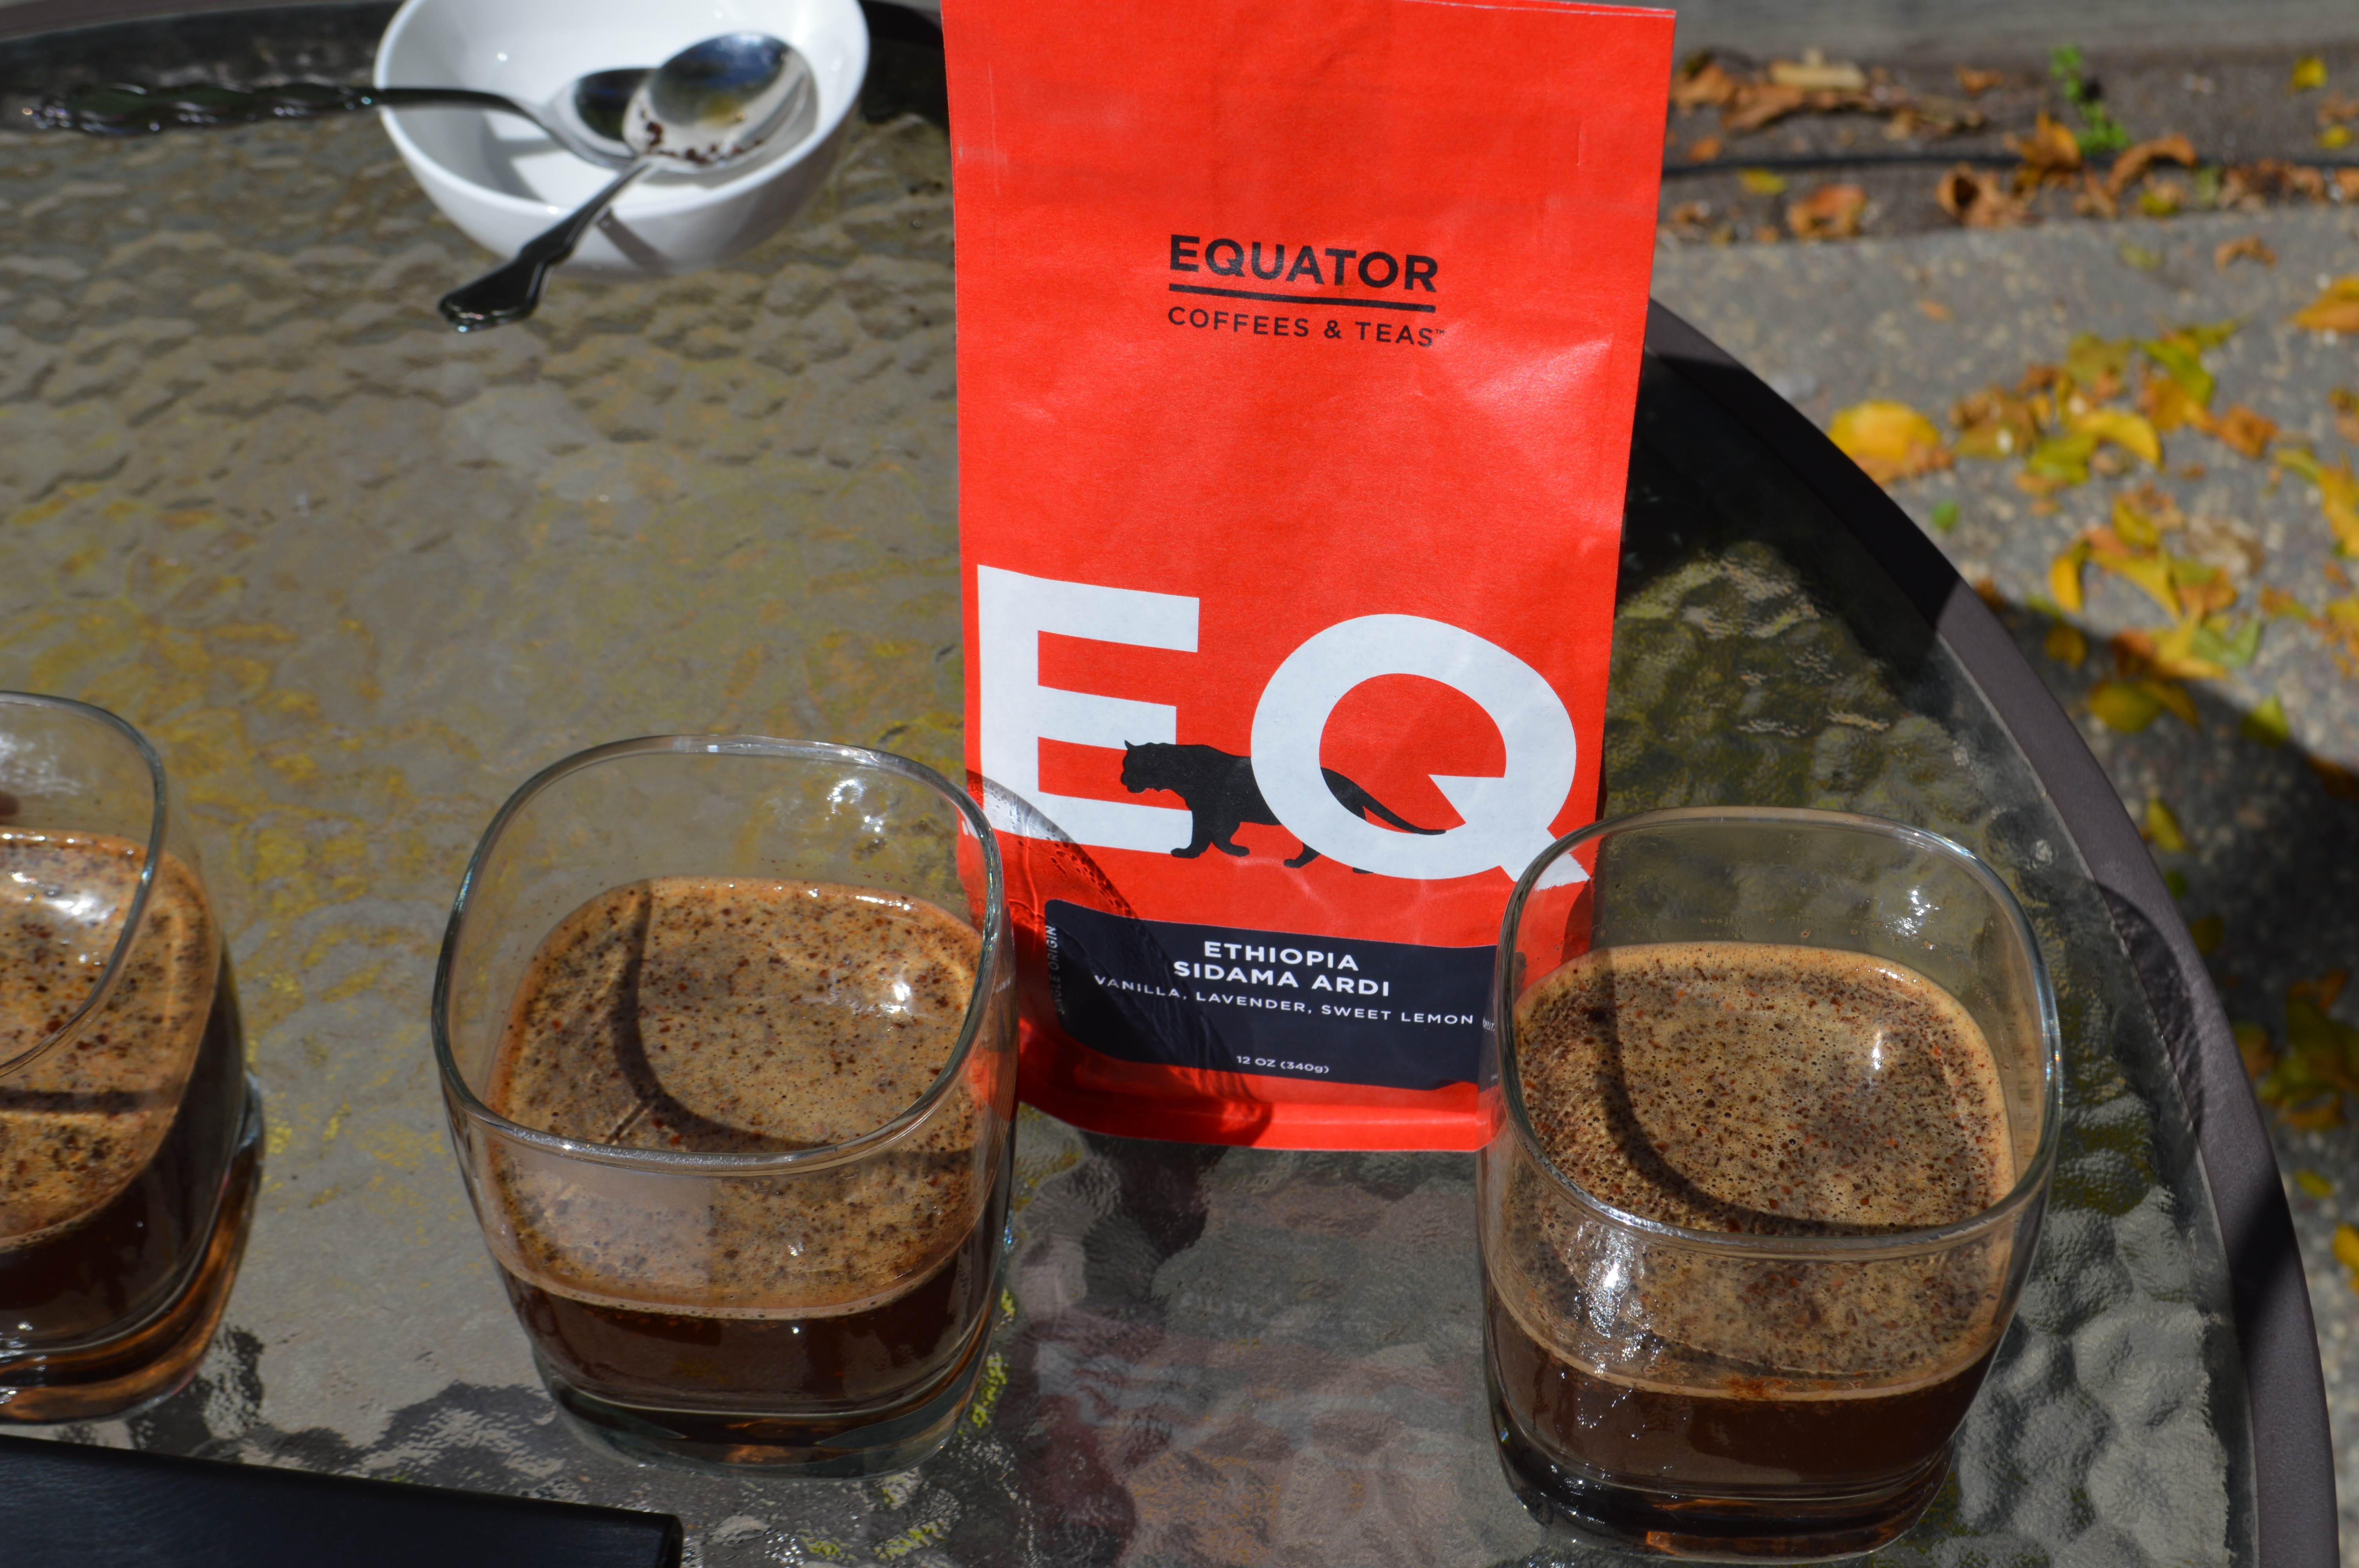 I started on the outside of the grounds bed and slowly made a spiral pattern inwards and back out until 180g of water was poured. It is important to ensure that all of the grounds are wet before you reach your water weight. The coffee should steep for approximately 4 minutes prior to breaking the crust.
 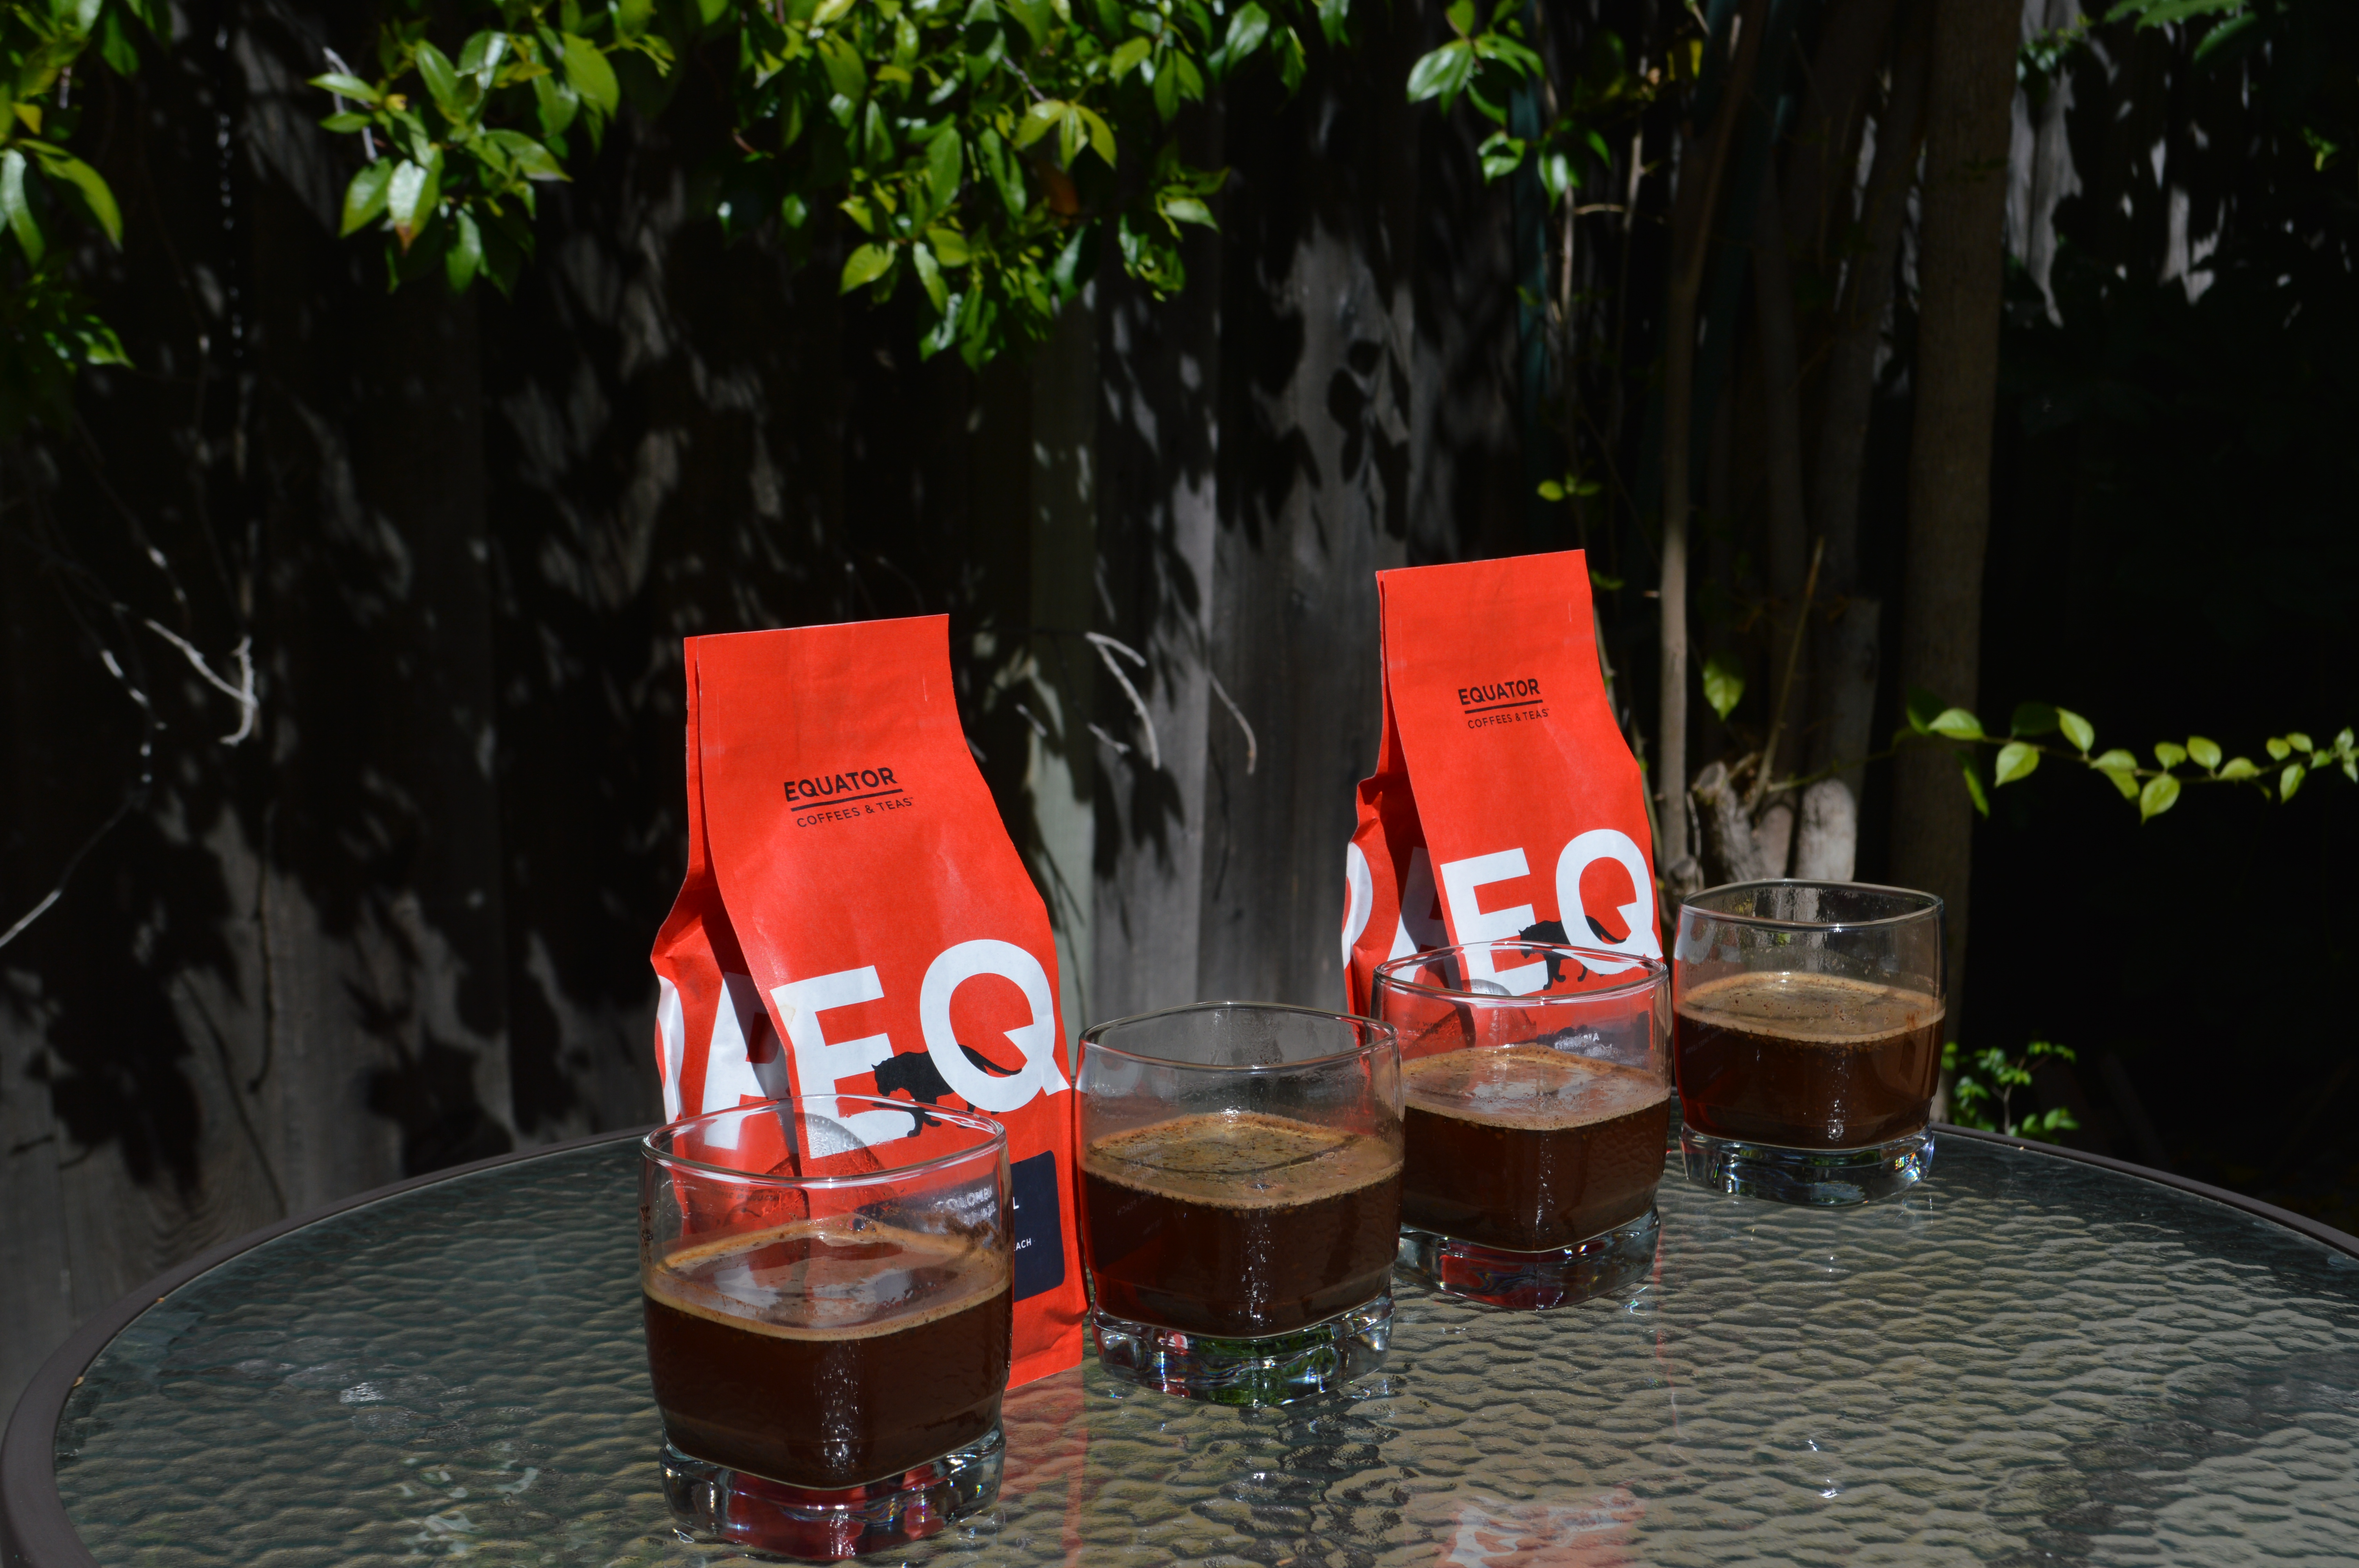 Once you've hit the four-minute mark take your spoon, crouch down so that your nose is close to the coffee and break the crust stirring in a slow circle, three times around the rim really allowing the aromatics to escape from under the crust. This will give you a good idea of the coffee's flavor notes so you may want to have a pen and paper to write down what you smell!
Allow the coffee to steep for another 5 minutes. This allows the coffee to cool down enough for you to taste it as well as fully extract each of the coffee's flavor notes. After the 5 minutes are up use two spoons to scrape away the top layer of foam. This will take out any bitterness the coffee might have produced and leave you with the coffee in its purest form.
 Finally, you are ready to taste the coffee! Using a spoon, I found the widest soup spoon that I had handy, you will scoop the coffee from the top layer to then slurp loudly into your mouth. In a professional cupping situation, you will likely see a cup of 200+ degree water behind each group of cupped coffee to dip your spoon in to and kill any germs from your spoon and reduce the likelihood of spreading illness. Another way to combat the spreading of germs is to use the side of your spoon that is furthest away from you while dipping into the coffee and slurping only from the side of your spoon closest to you. And always making sure to dip your spoon in the hot water between cups.
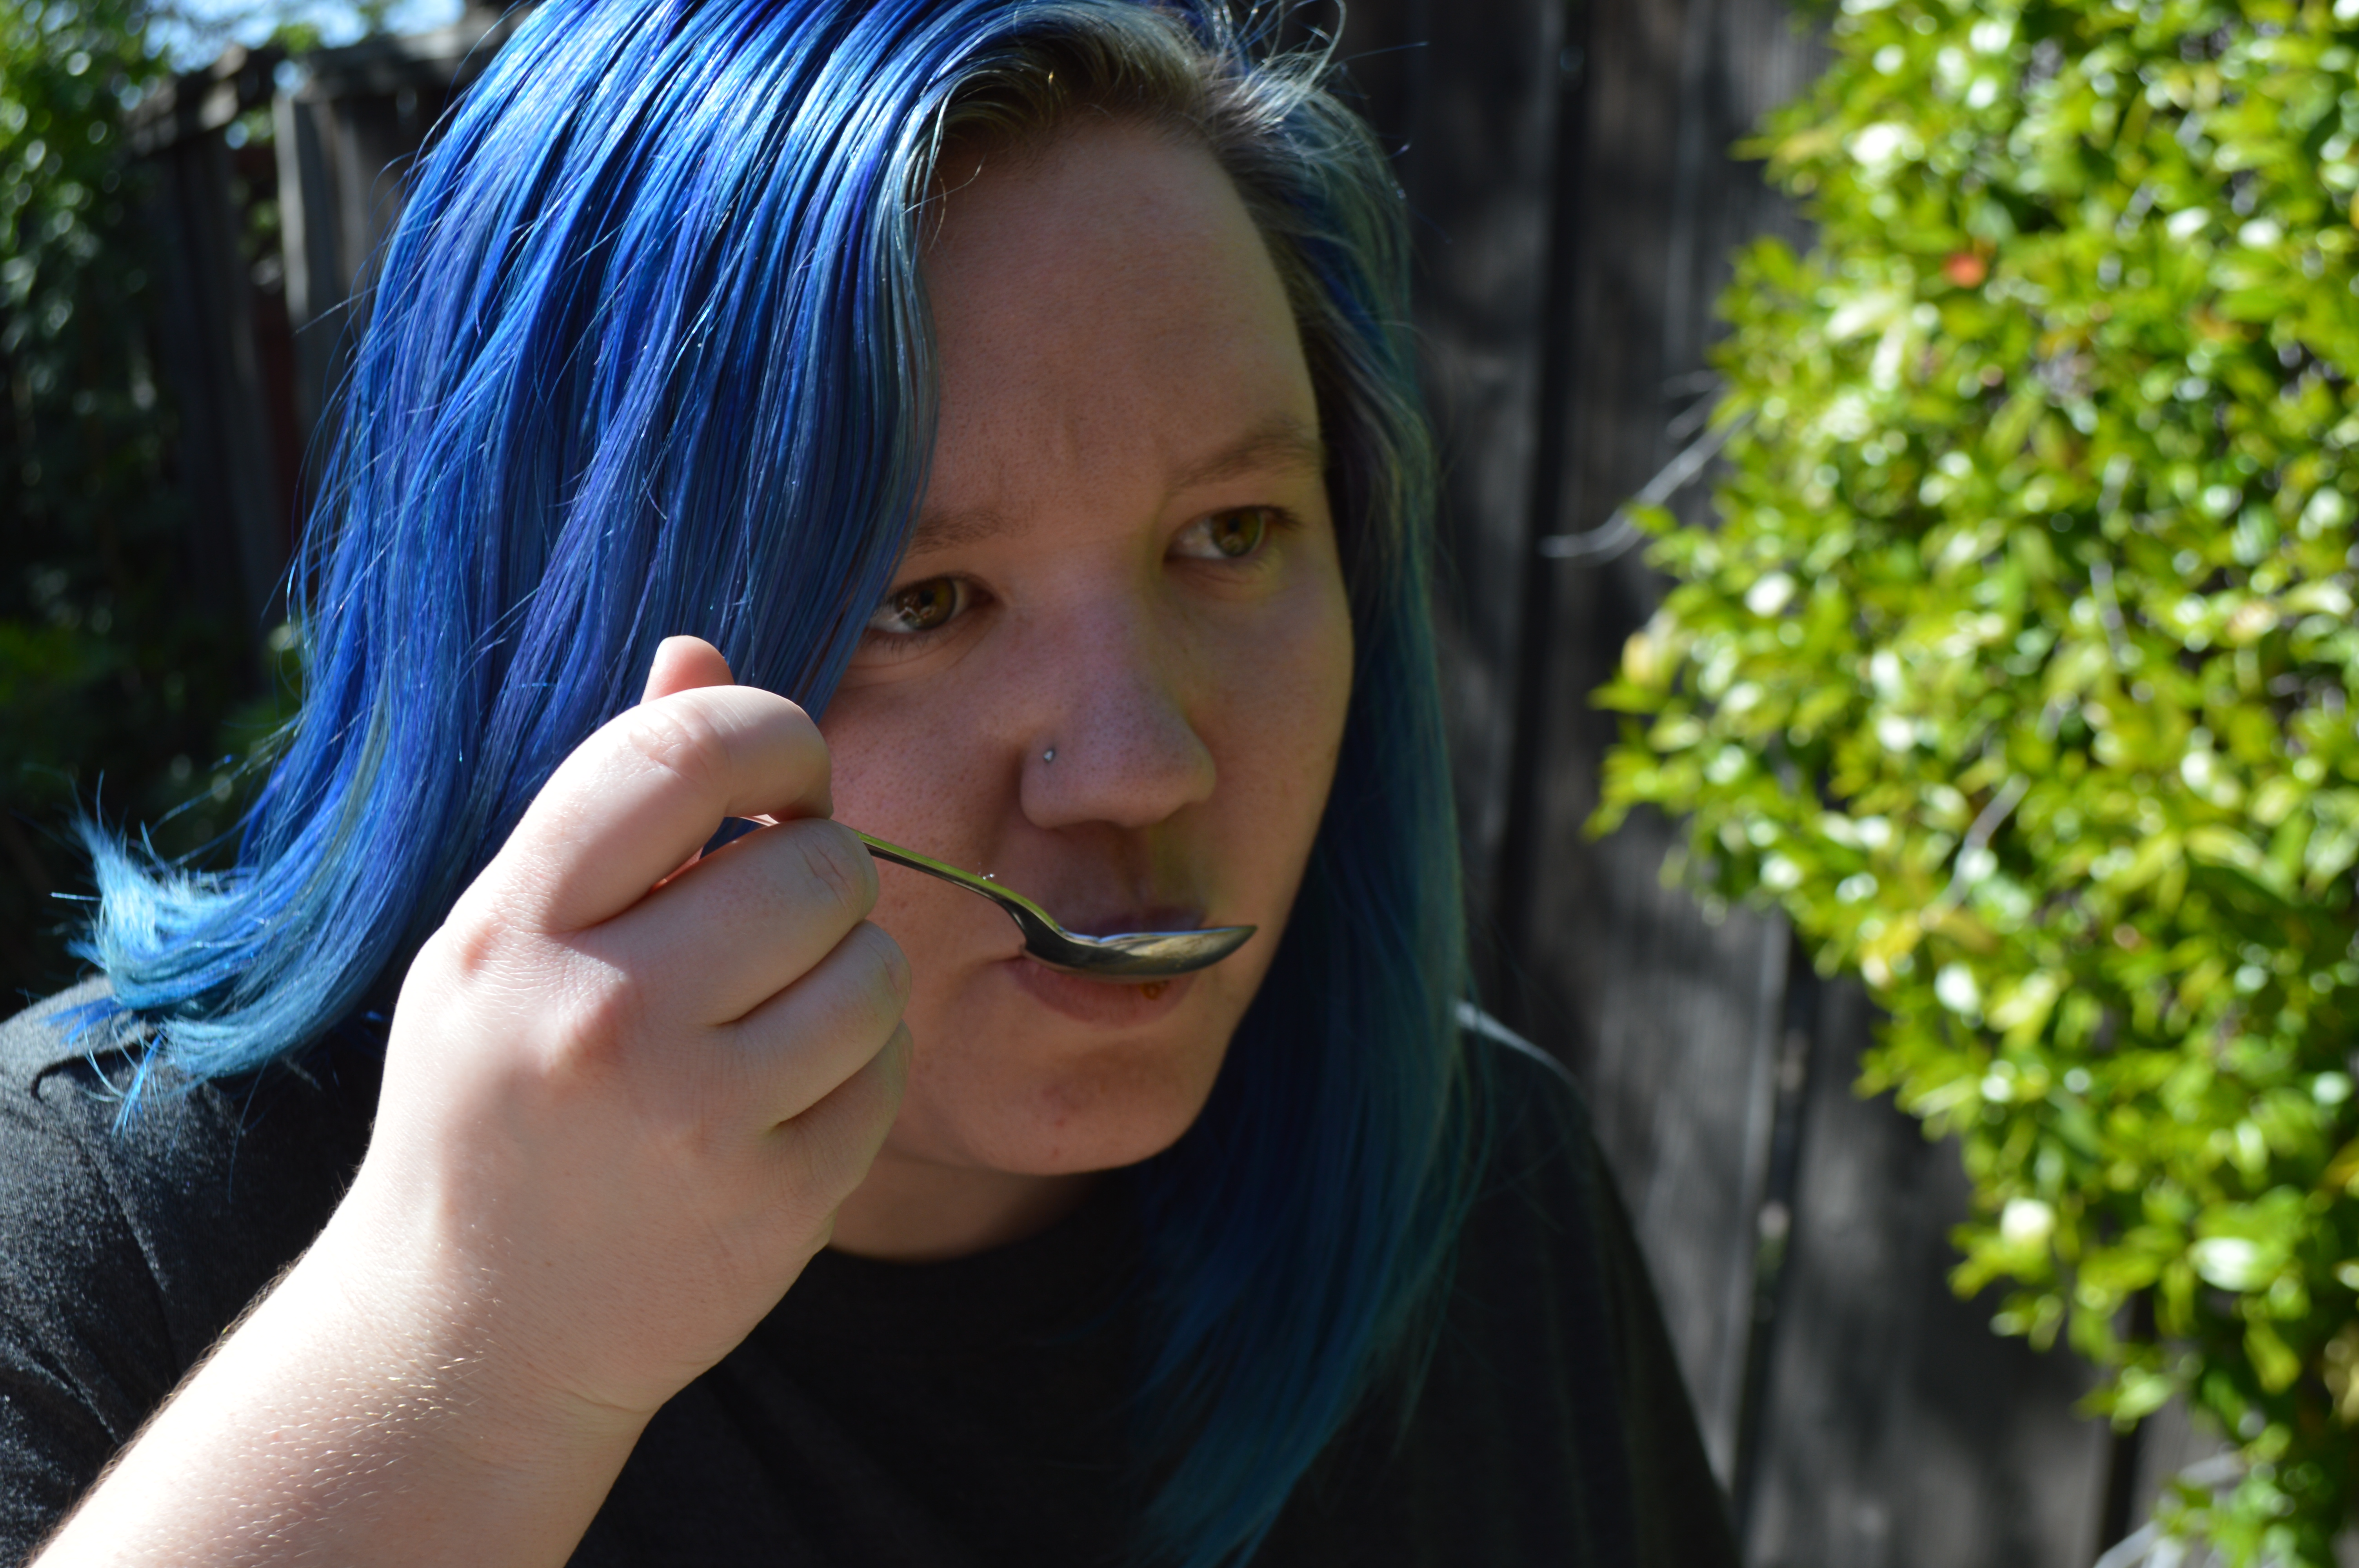 While slurping, spray the coffee across your entire palette to get the best sense of the coffees flavor notes, body, acidity, and roast level. This also acts as a way to aerate the coffee bringing forward the best the coffee has to offer. Finally write down any thoughts you have, what you taste, smell, like, dislike. Practice, practice, practice! The more cuppings, tastings, and experiences you have with coffee the easier it becomes to talk about coffee.
What I would change for next time: The size of my cups were about twice as much as the 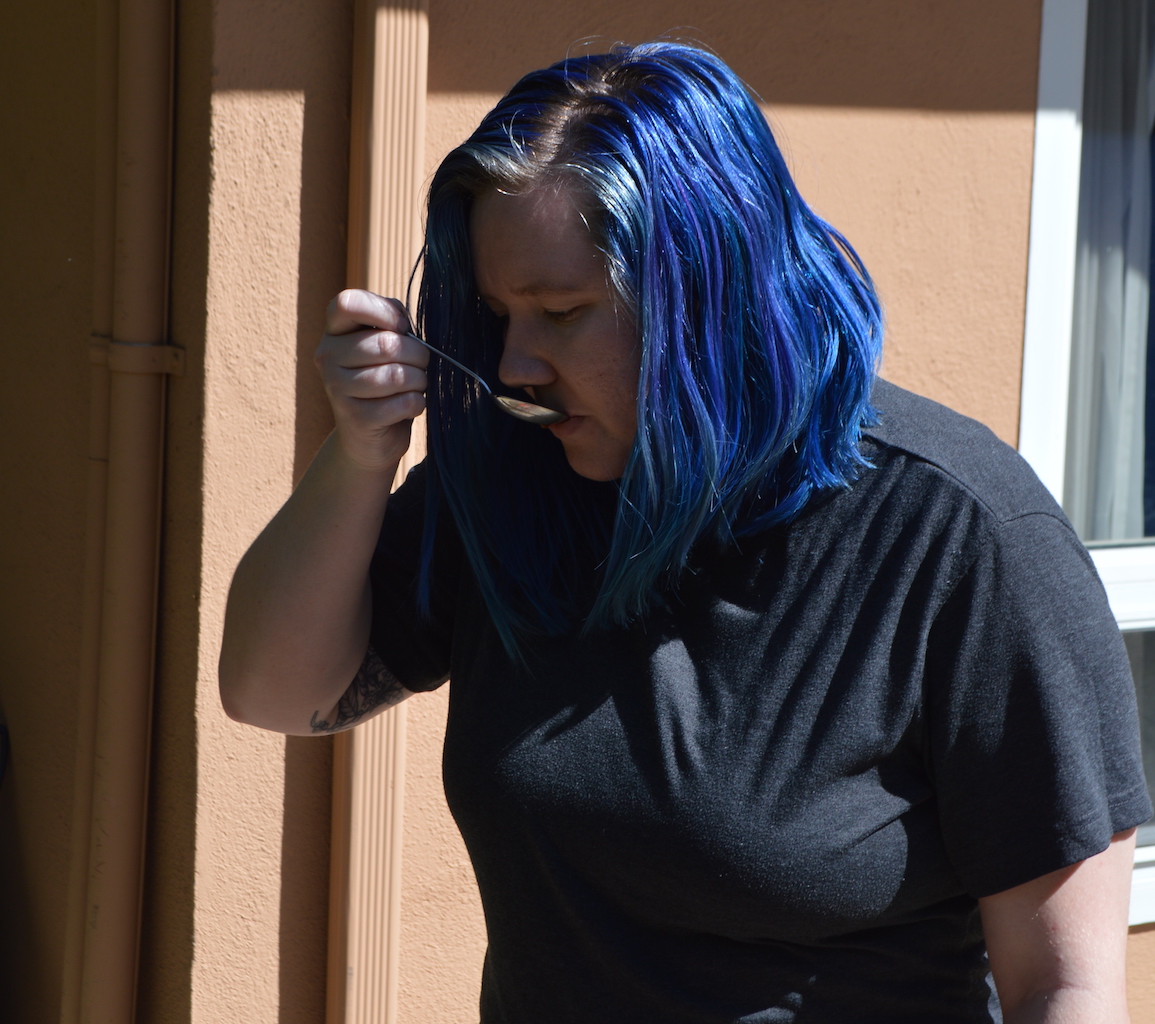 liquid/coffee grounds I put in. Ideally you want to crust to be at the rim of the cup/bowl you are using to make it easy. The SCA website suggest finding the volume of your vessel first and then using their ratio of 8.25g of coffee to 150g of water. In a perfect world, I would have round cups/bowls at my disposal as I believe that would make the skimming of foam and breaking of the crust easier. That being said the resulting cupping tasted very similar to what I experienced at the cupping class so with just a bit more practice, and maybe investing in a few SCA approved materials I'm sure I will be a pro in no time.
If you live in the Bay Area I highly recommend checking out the Fellow Products Playground. They host tons of coffee events in their store, feature five new roasters every month, and will help you with any coffee brewing questions you might have! Their website is http://fellowproducts.com/