The weekend before my 26th birthday my partner and I headed up to the mountains to escape the smoke caused by the devastating Camp Fire near Paradise, CA. We chose to rent a cabin off of a charming bed and breakfast near Shasta Lake.
Nothing is better than a warm, delicious cup of coffee in the woods. Usually I use a coffee press or an aeropress which means you either have to pre-grind your coffee or bring along your hand grinder. Not to mention all the materials that come with your brewing mechanism. All of which is fine, but if you are short on space and don't want to deal with the hassle, the Dripkit is the way to go.
The company Dripkit is based out of Brooklyn, NY. They practice direct trade and focus on small farms and cooperatives. It is roasted, 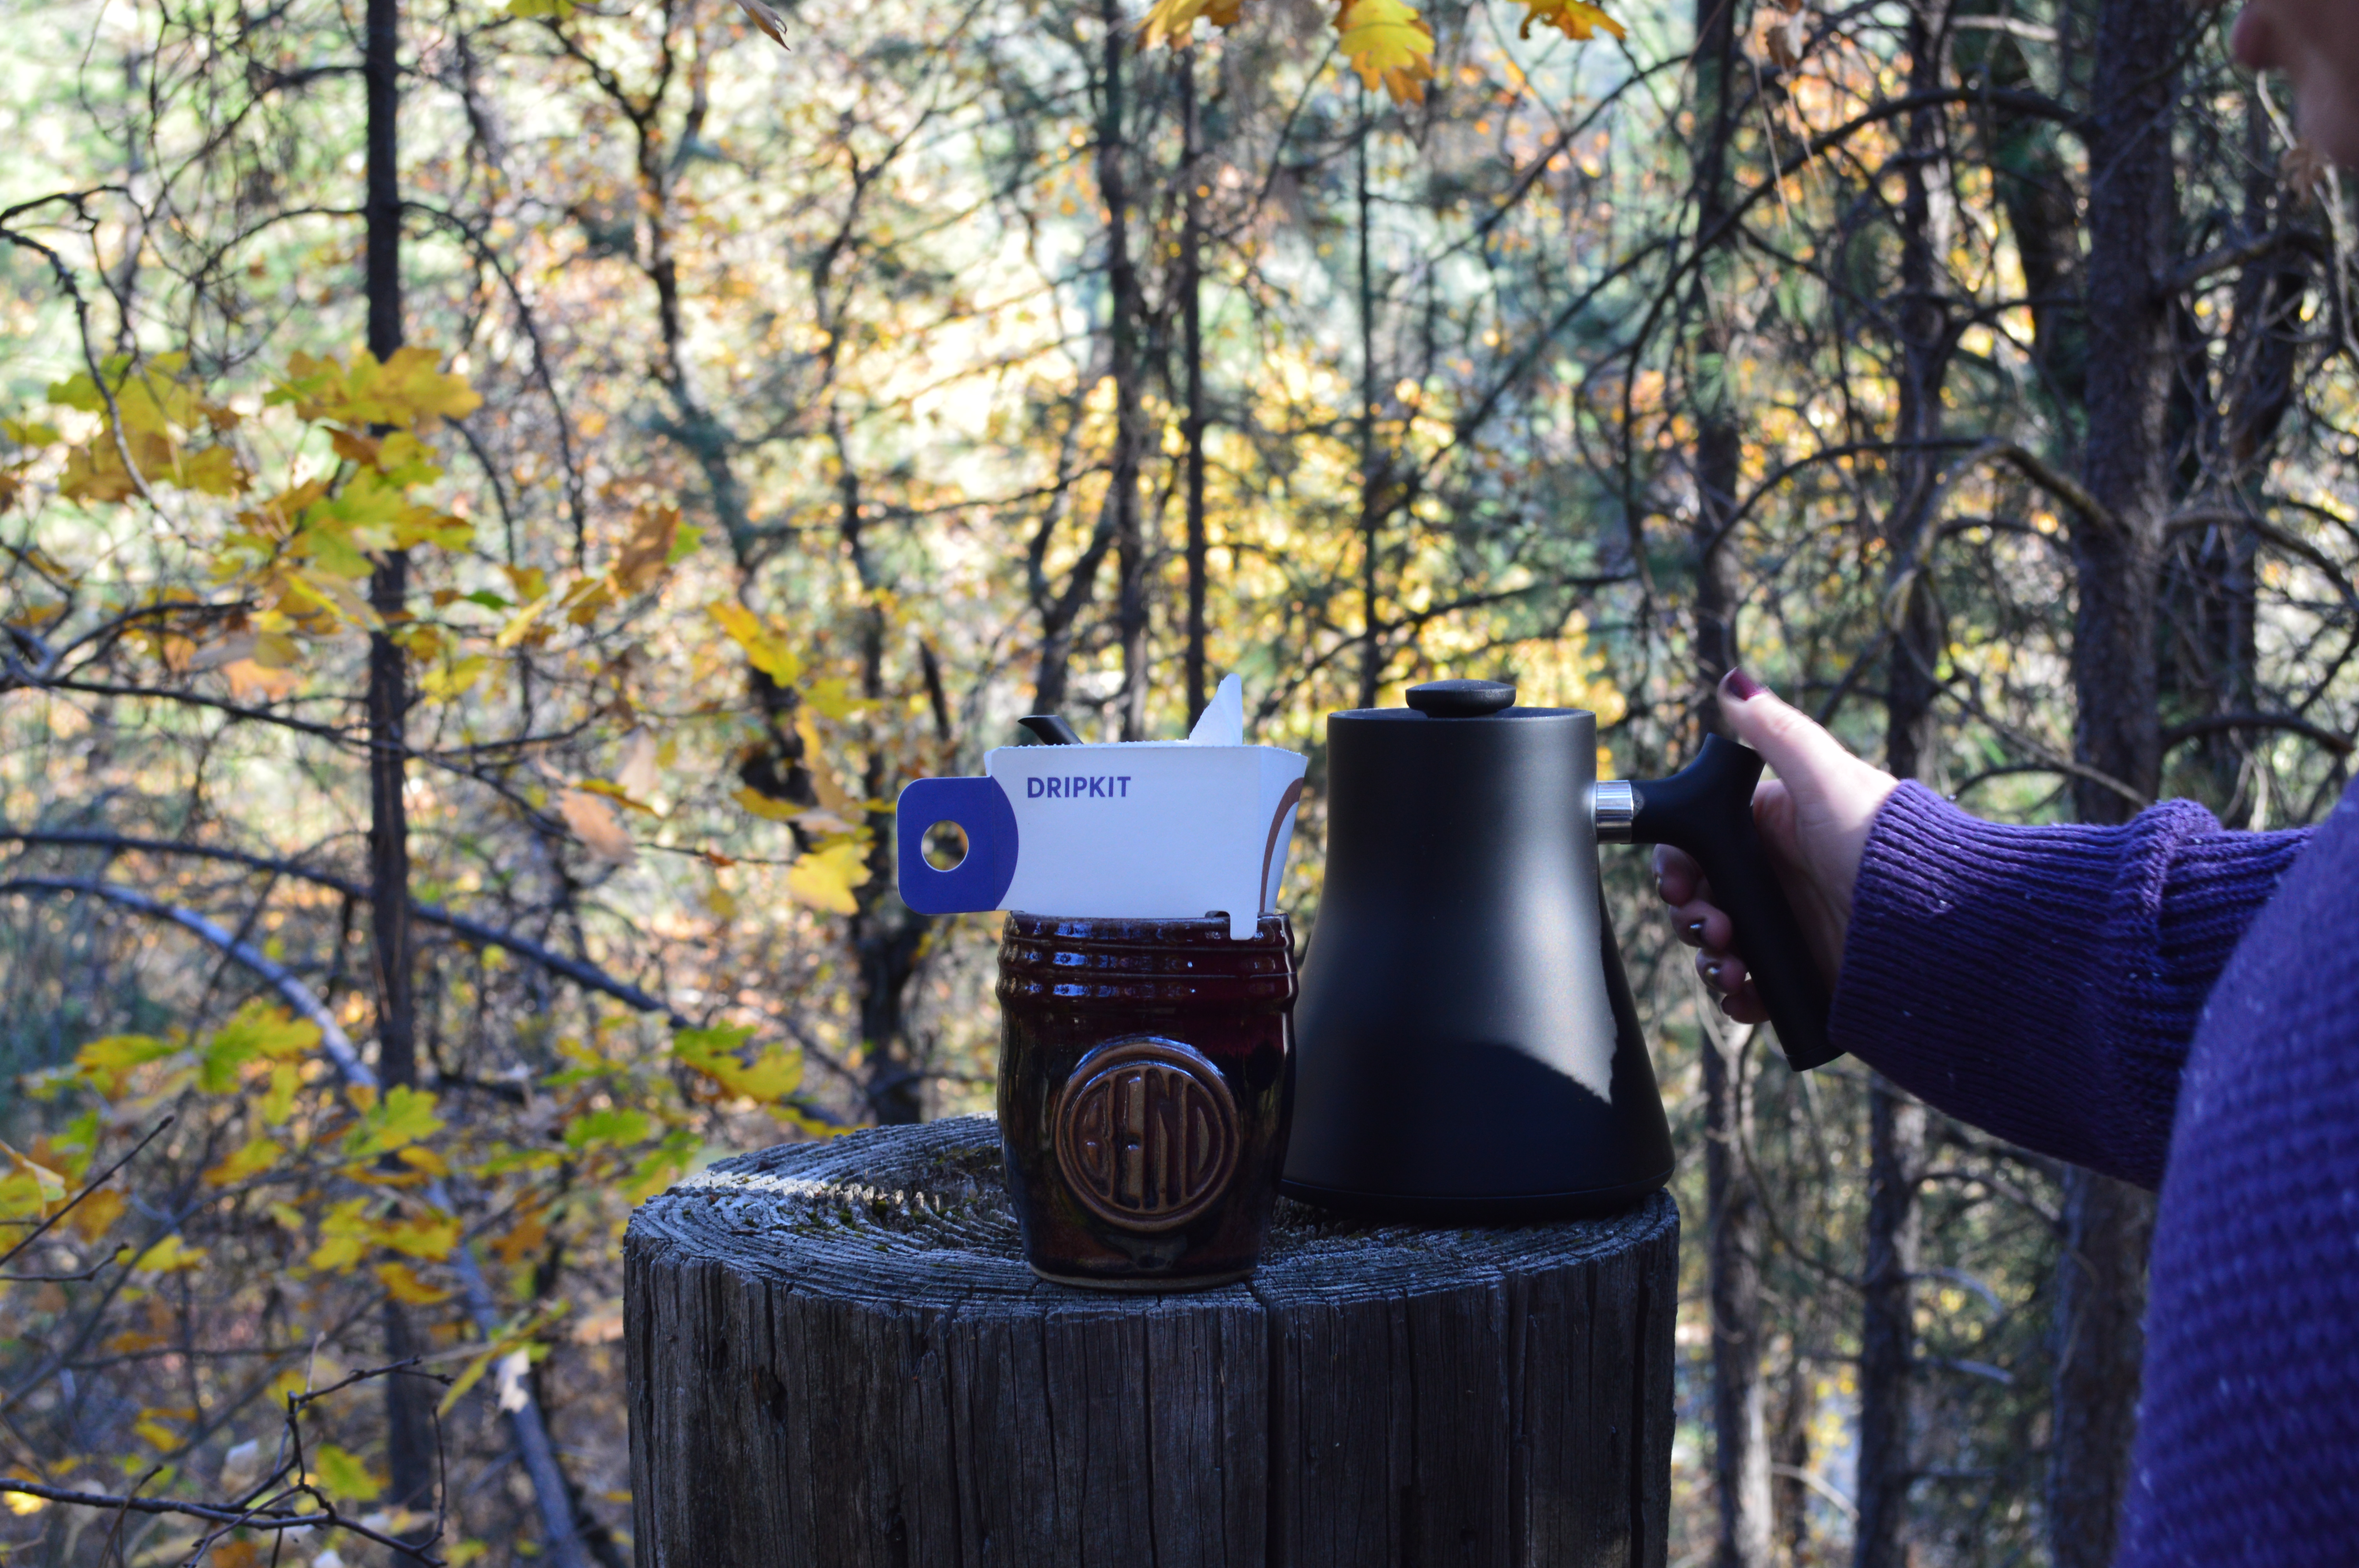 ground, and packaged in Brooklyn. The team of two awesome women co-founders pledge to find a way to make their product 100% biodegradable by 2021. You can visit their site at https://dripkit.coffee/ for more information about their company and practices. As well as another step-by-step guide to using their product.
The Santa Cruz based company called Verve Coffee Roasters partnered with Dripkit to sell in stores. The kit contains 15g of freshly roasted pre-ground coffee. https://www.vervecoffee.com/collections/dripkit The Verve Dripkit that I used was their Ethiopia Duromina, which with its notes of juniper and pomegranate was a perfect coffee to try in the woods.
The first thing you will need to do when preparing to use your dripkit is heat your water. Between 195-205 degrees Fahrenheit is best for brewing. I brought along my Fellow Stagg EKG kettle, but any kind of kettle would be fine. That being said, as with any coffee brewing method it would be easier to have a goose neck kettle.
The next thing you will do is open you Dripkit and tear off the top blue strip. Push the drip kit open to create a triangle shape and use the notches provided on the bottom of the kit to secure on to your mug.
Next you will slowly 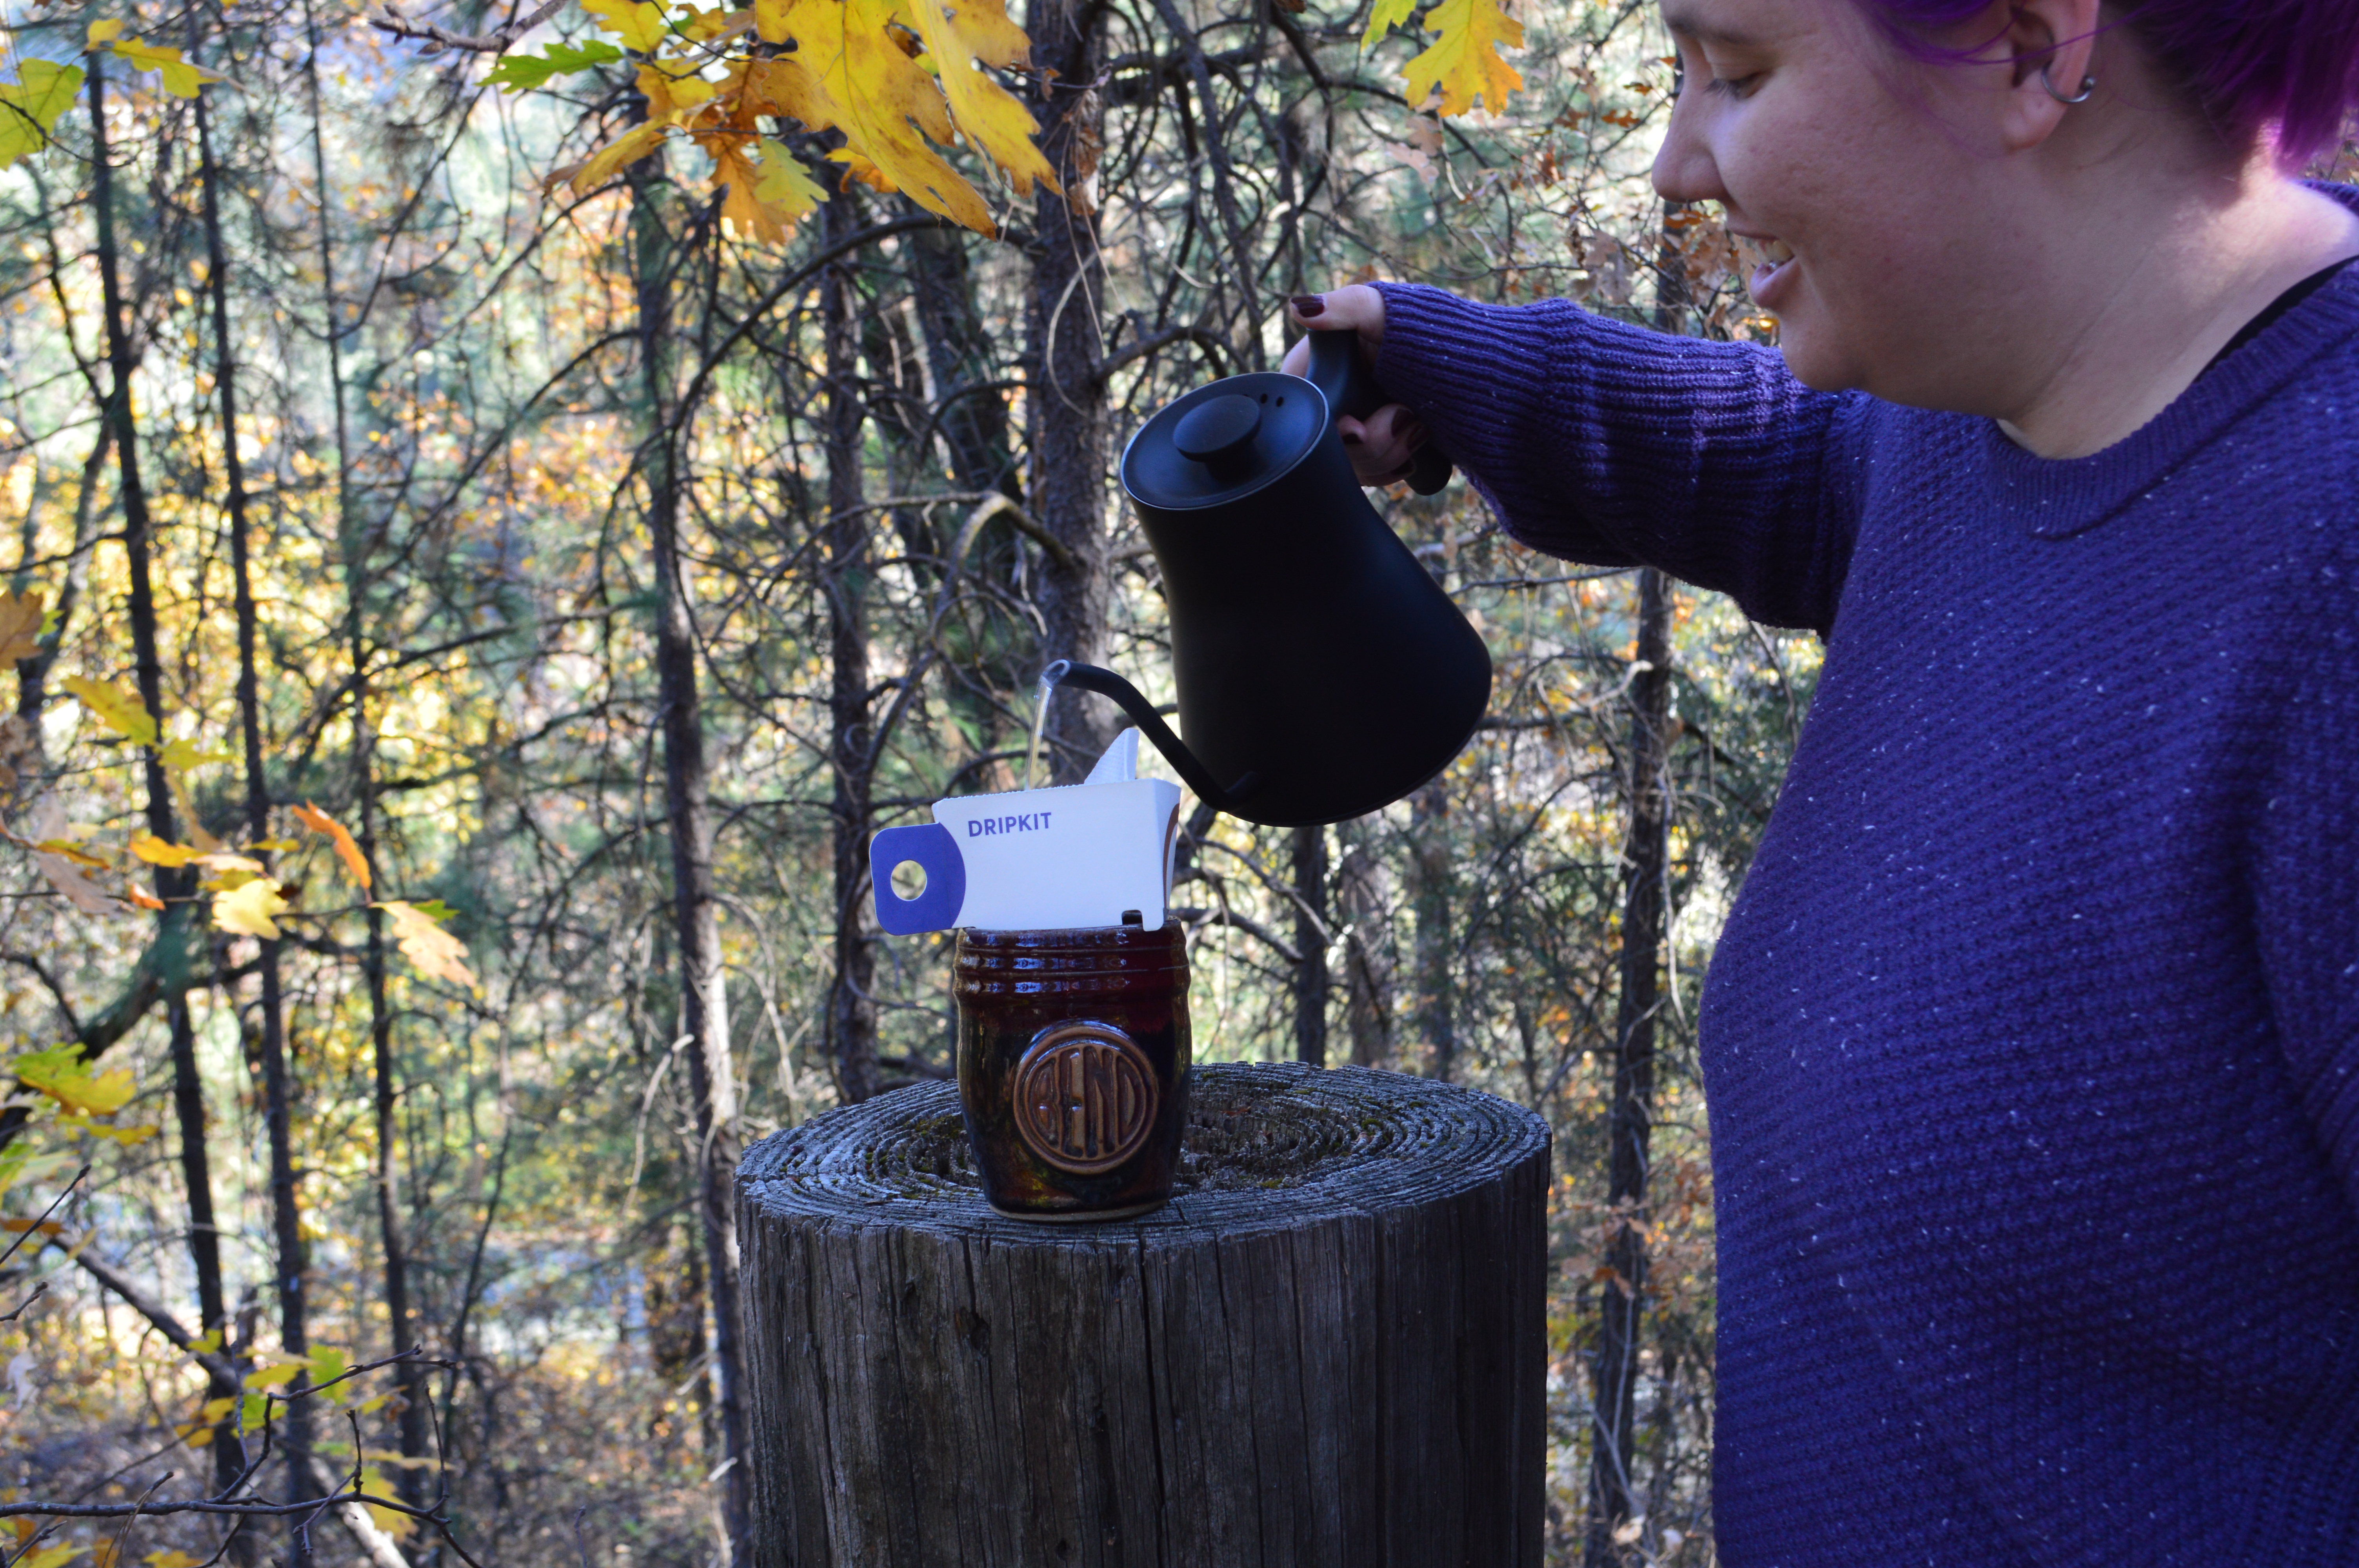 fill your Dripkit to the top and let drain, repeat twice more. You can by-bass and add more water to your brewed coffee after if you find it too strong. Though I think the strength was perfect with a wonderful balance of acidity and sweetness.
That's it! It is that easy. I am not usually one to use "instant" coffees. I like to freshly grind my beans before brewing so I was a bit skeptical at first. 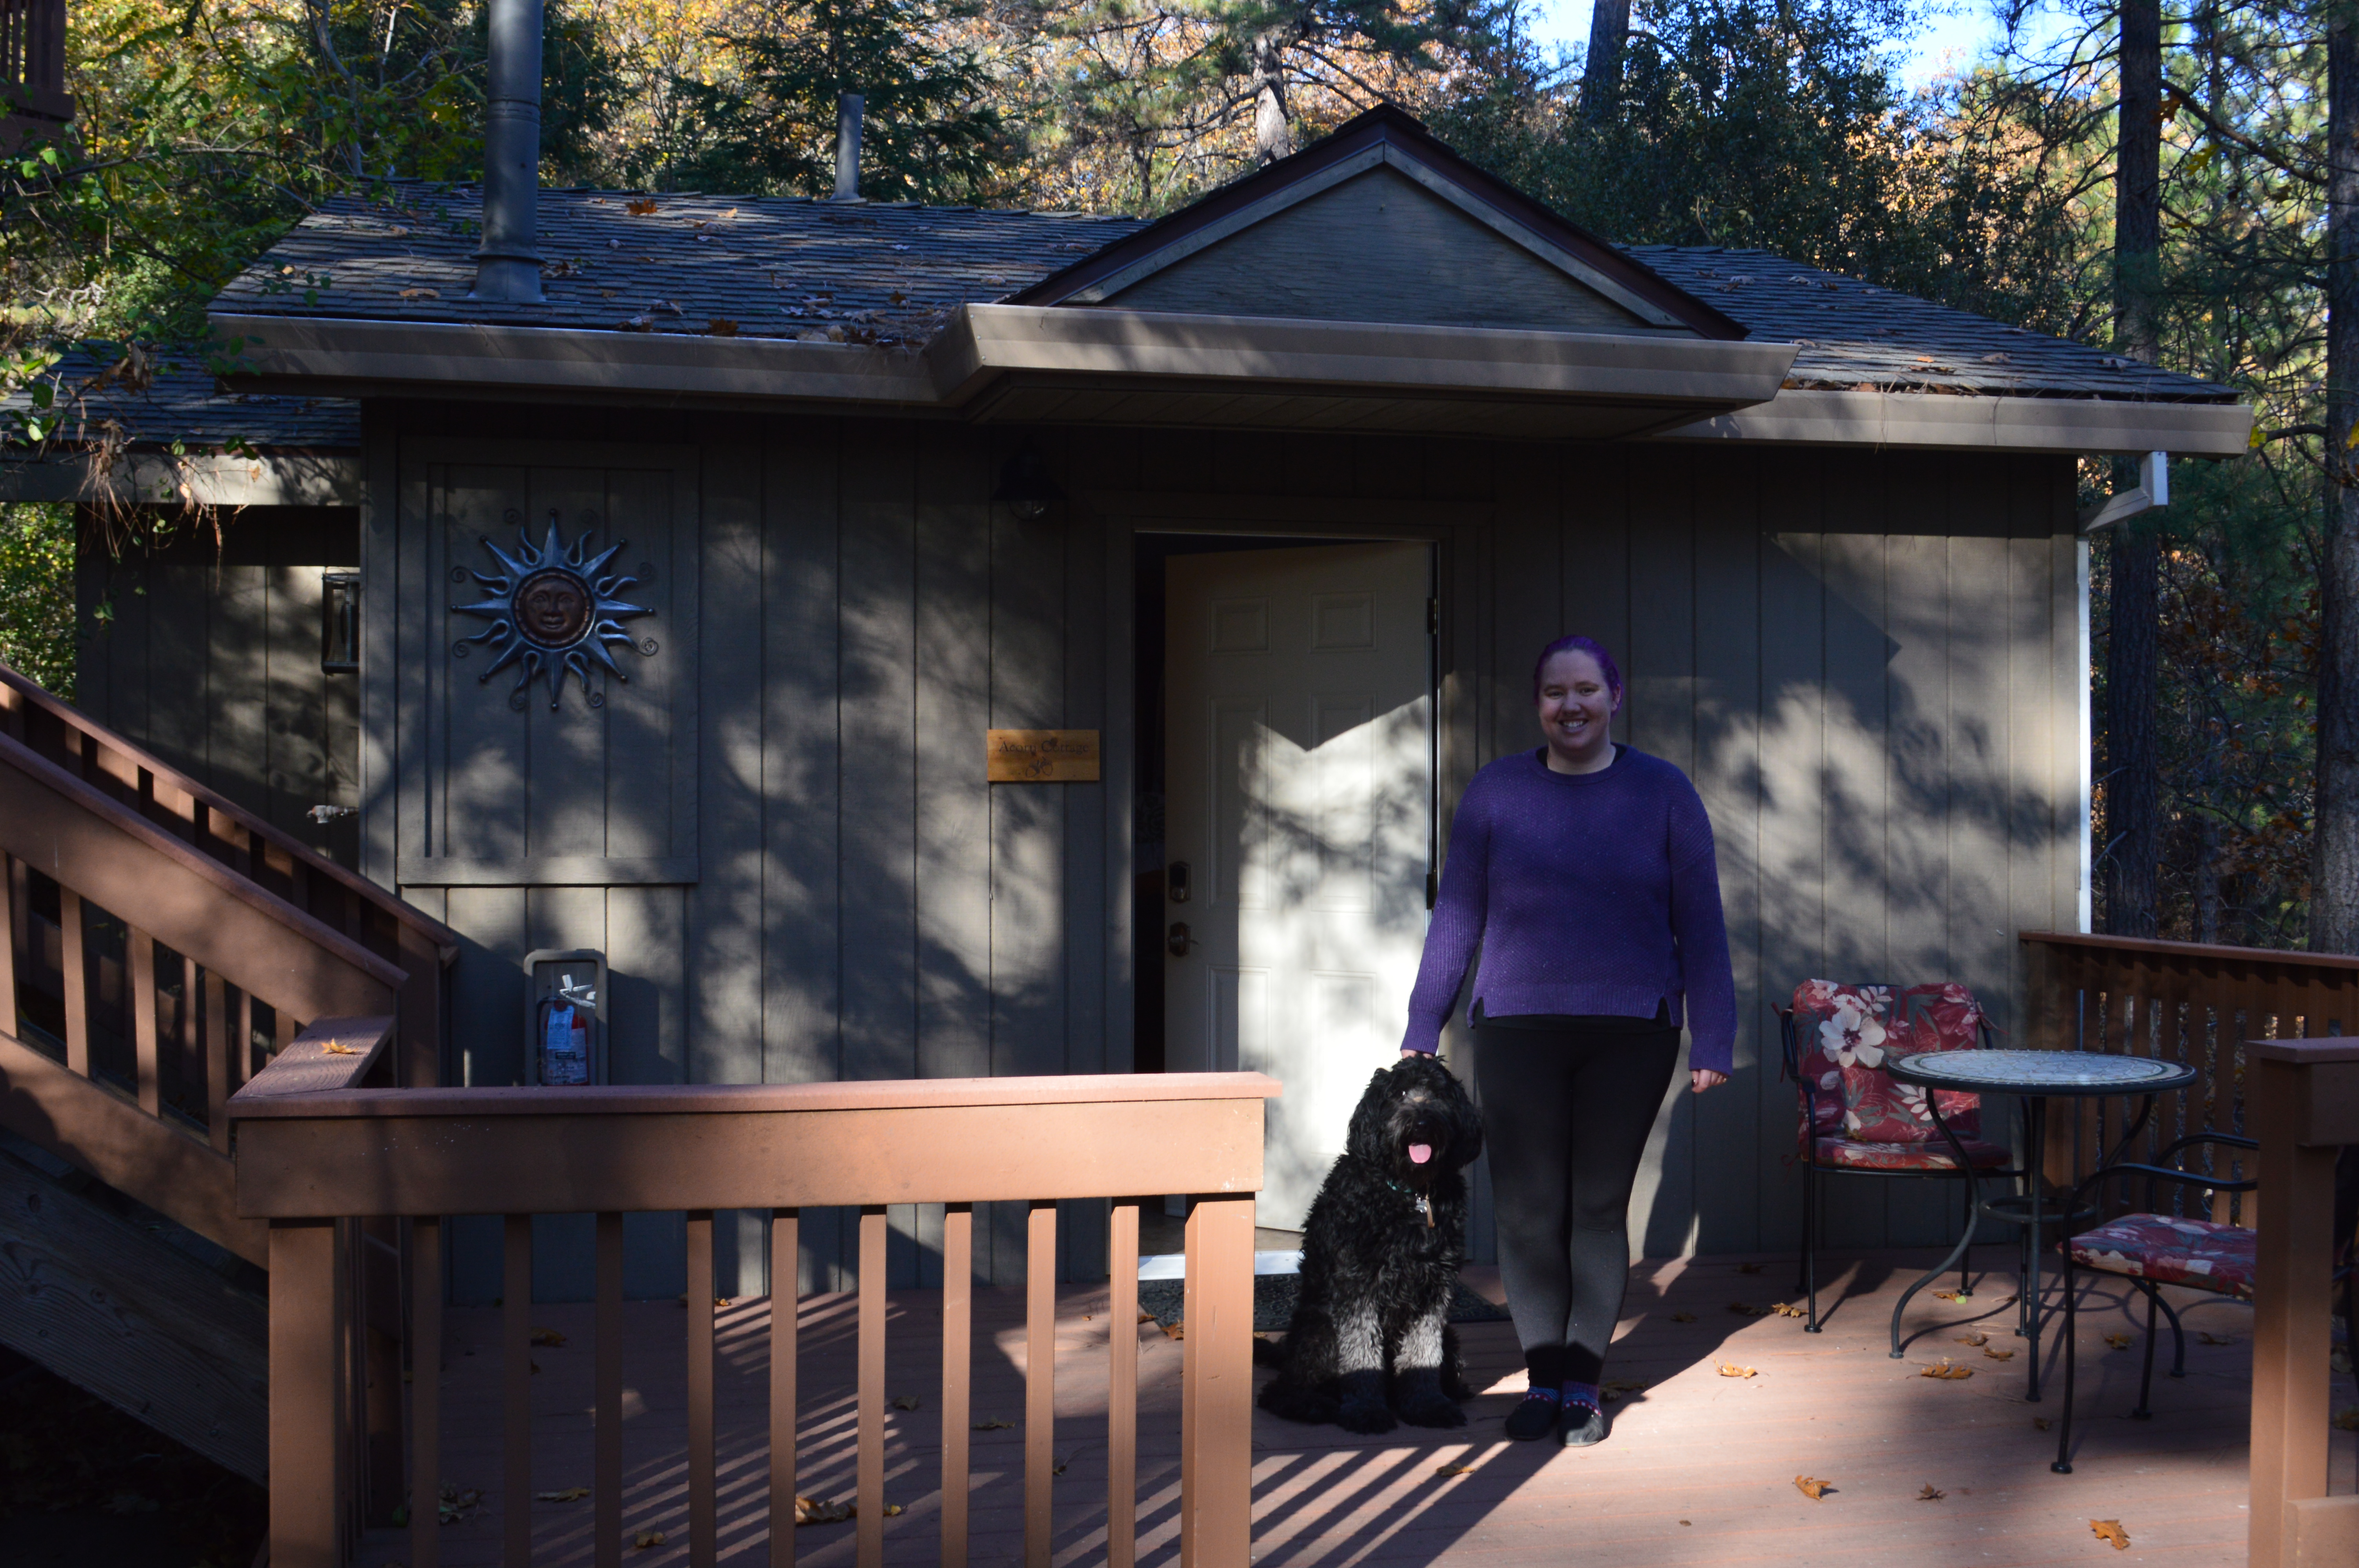 However, I could tell from the moment the coffee started to bloom that it was still fresh. There were large gas bubbles and the aromatics that were already coming from the coffee were enticing. The end result was a perfectly balanced cup of coffee. I would have had a hard time picking it out of a line up of other pour overs. I was done brewing in just a few minutes and quickly got to enjoy my coffee on the deck of our cabin looking out at the mountains.