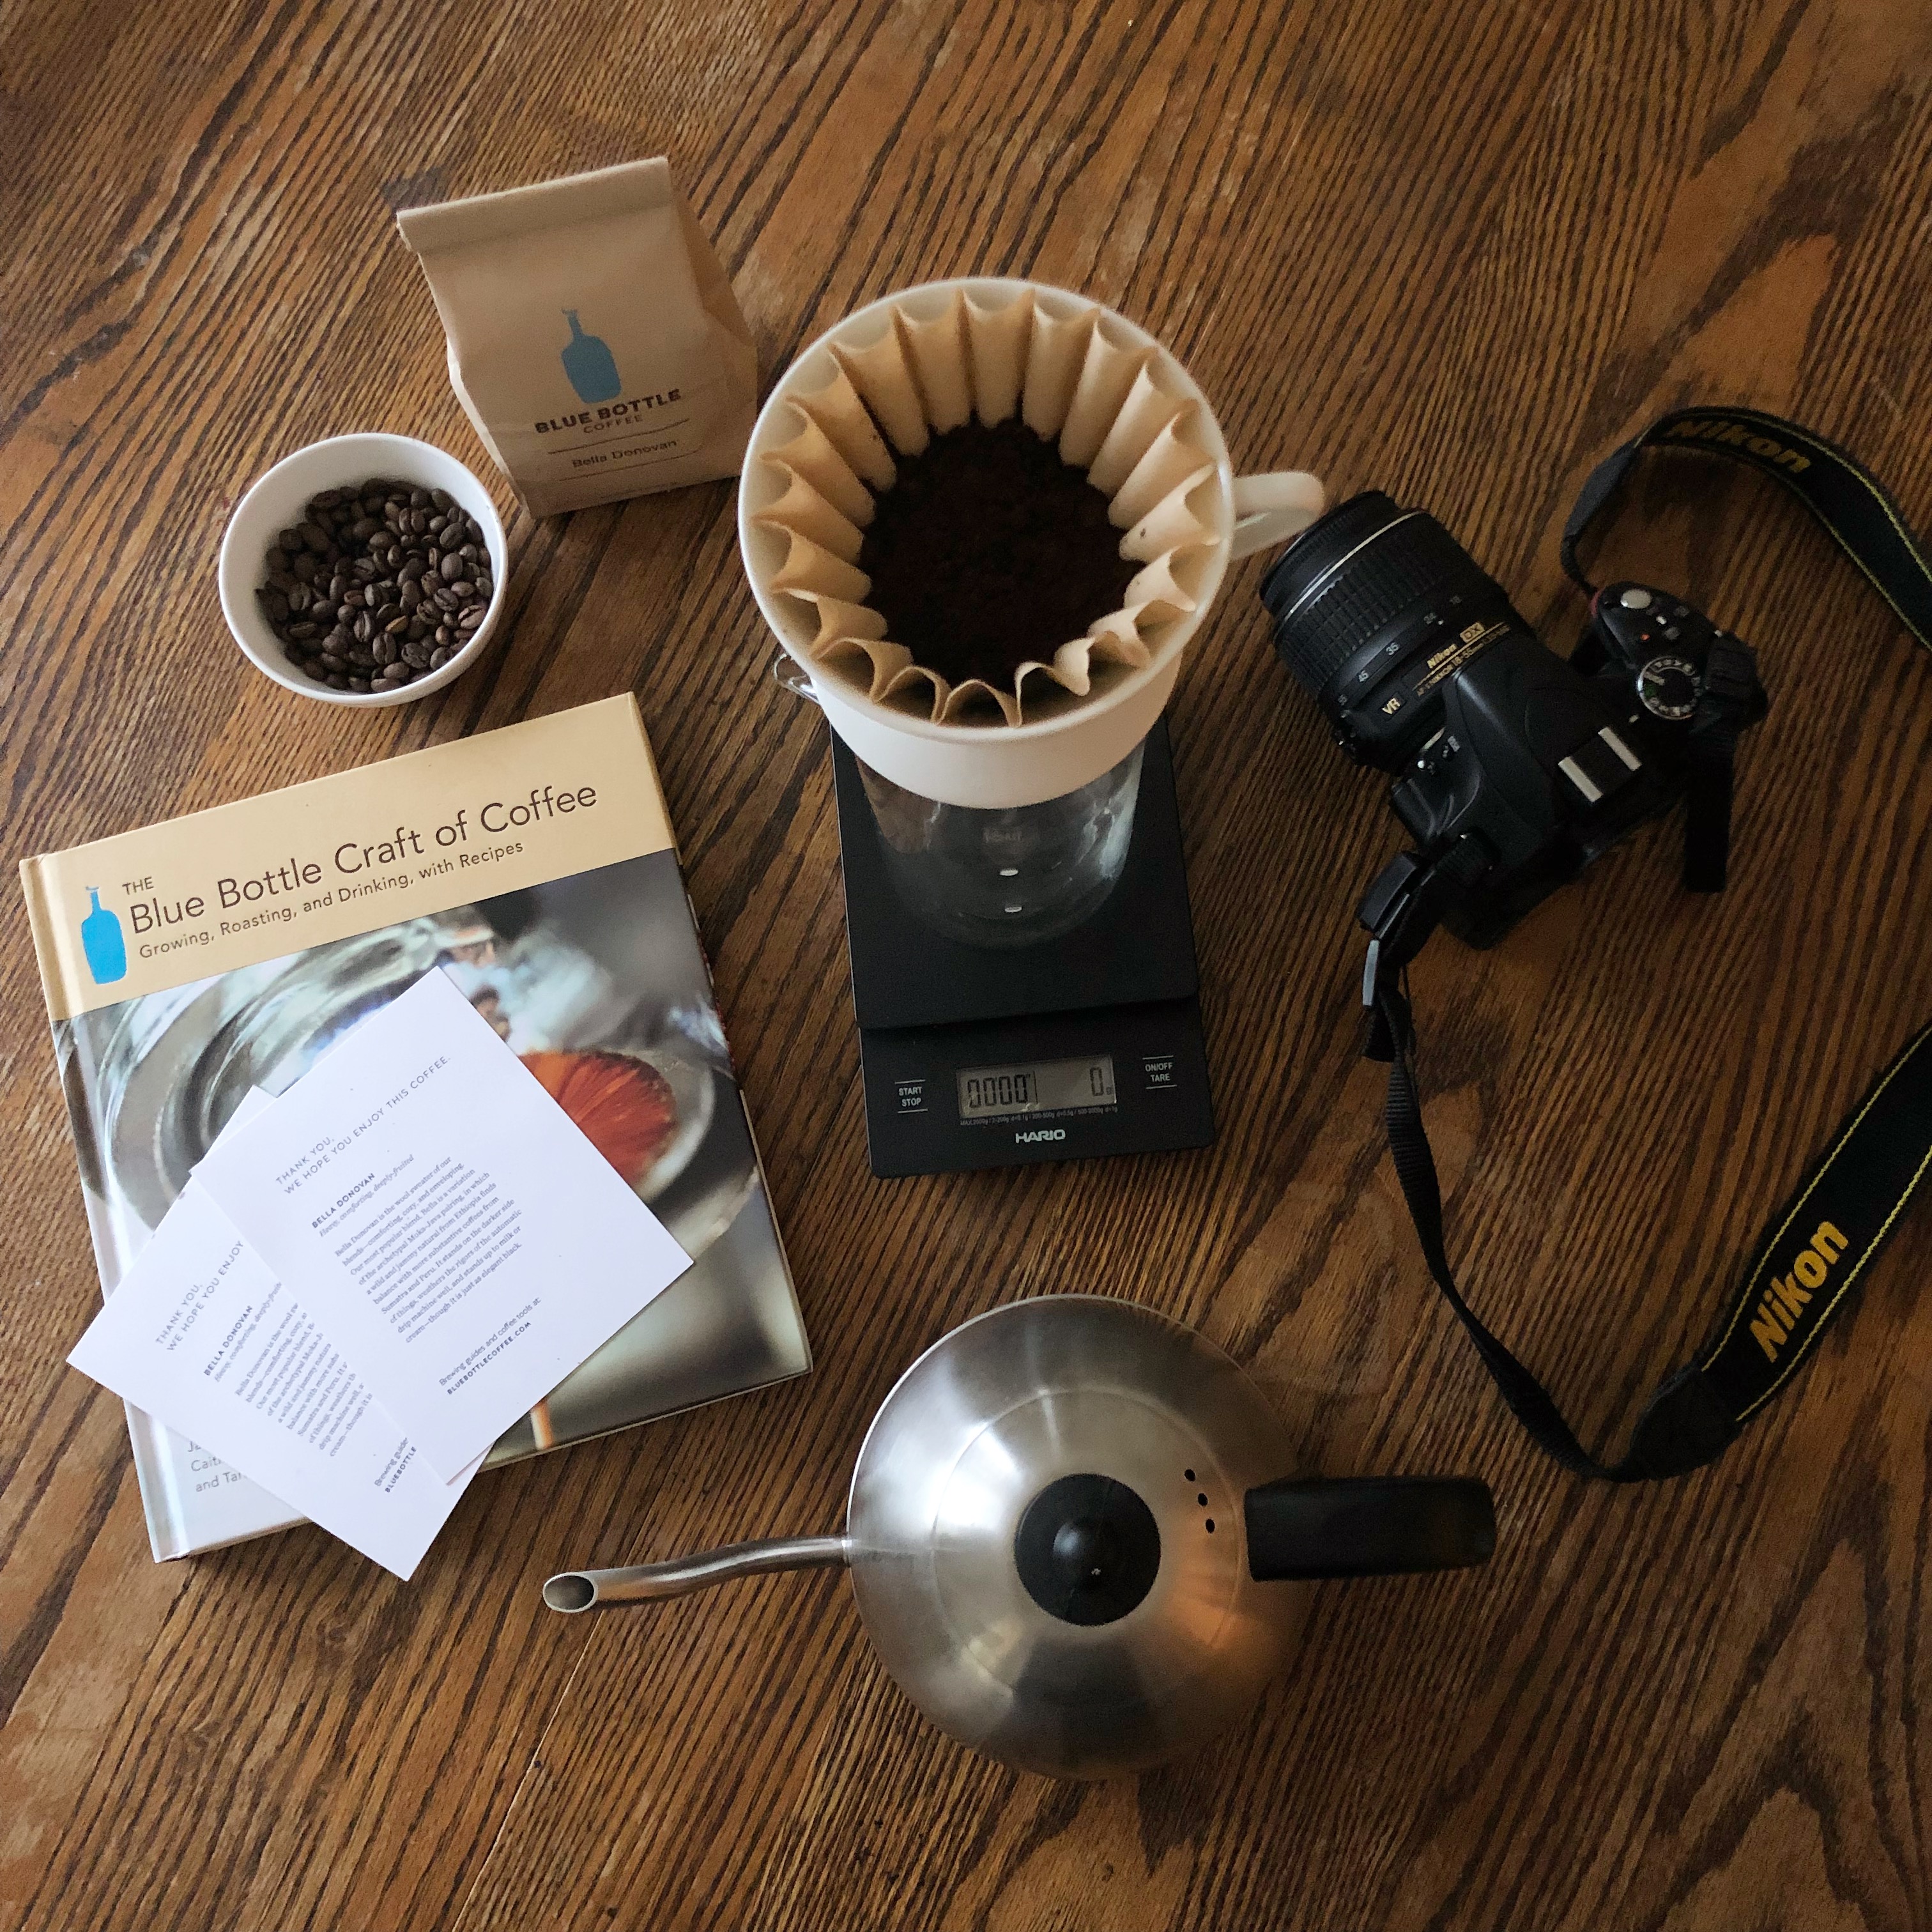
I recently purchased the Blue Bottle Coffee Dripper and attended a local coffee dripper class in Palo Alto, CA. Right away it was clear that this is different than just your standard pour over vessel.
The vertical ridges along the inside of the vessel is the most noticeable difference. 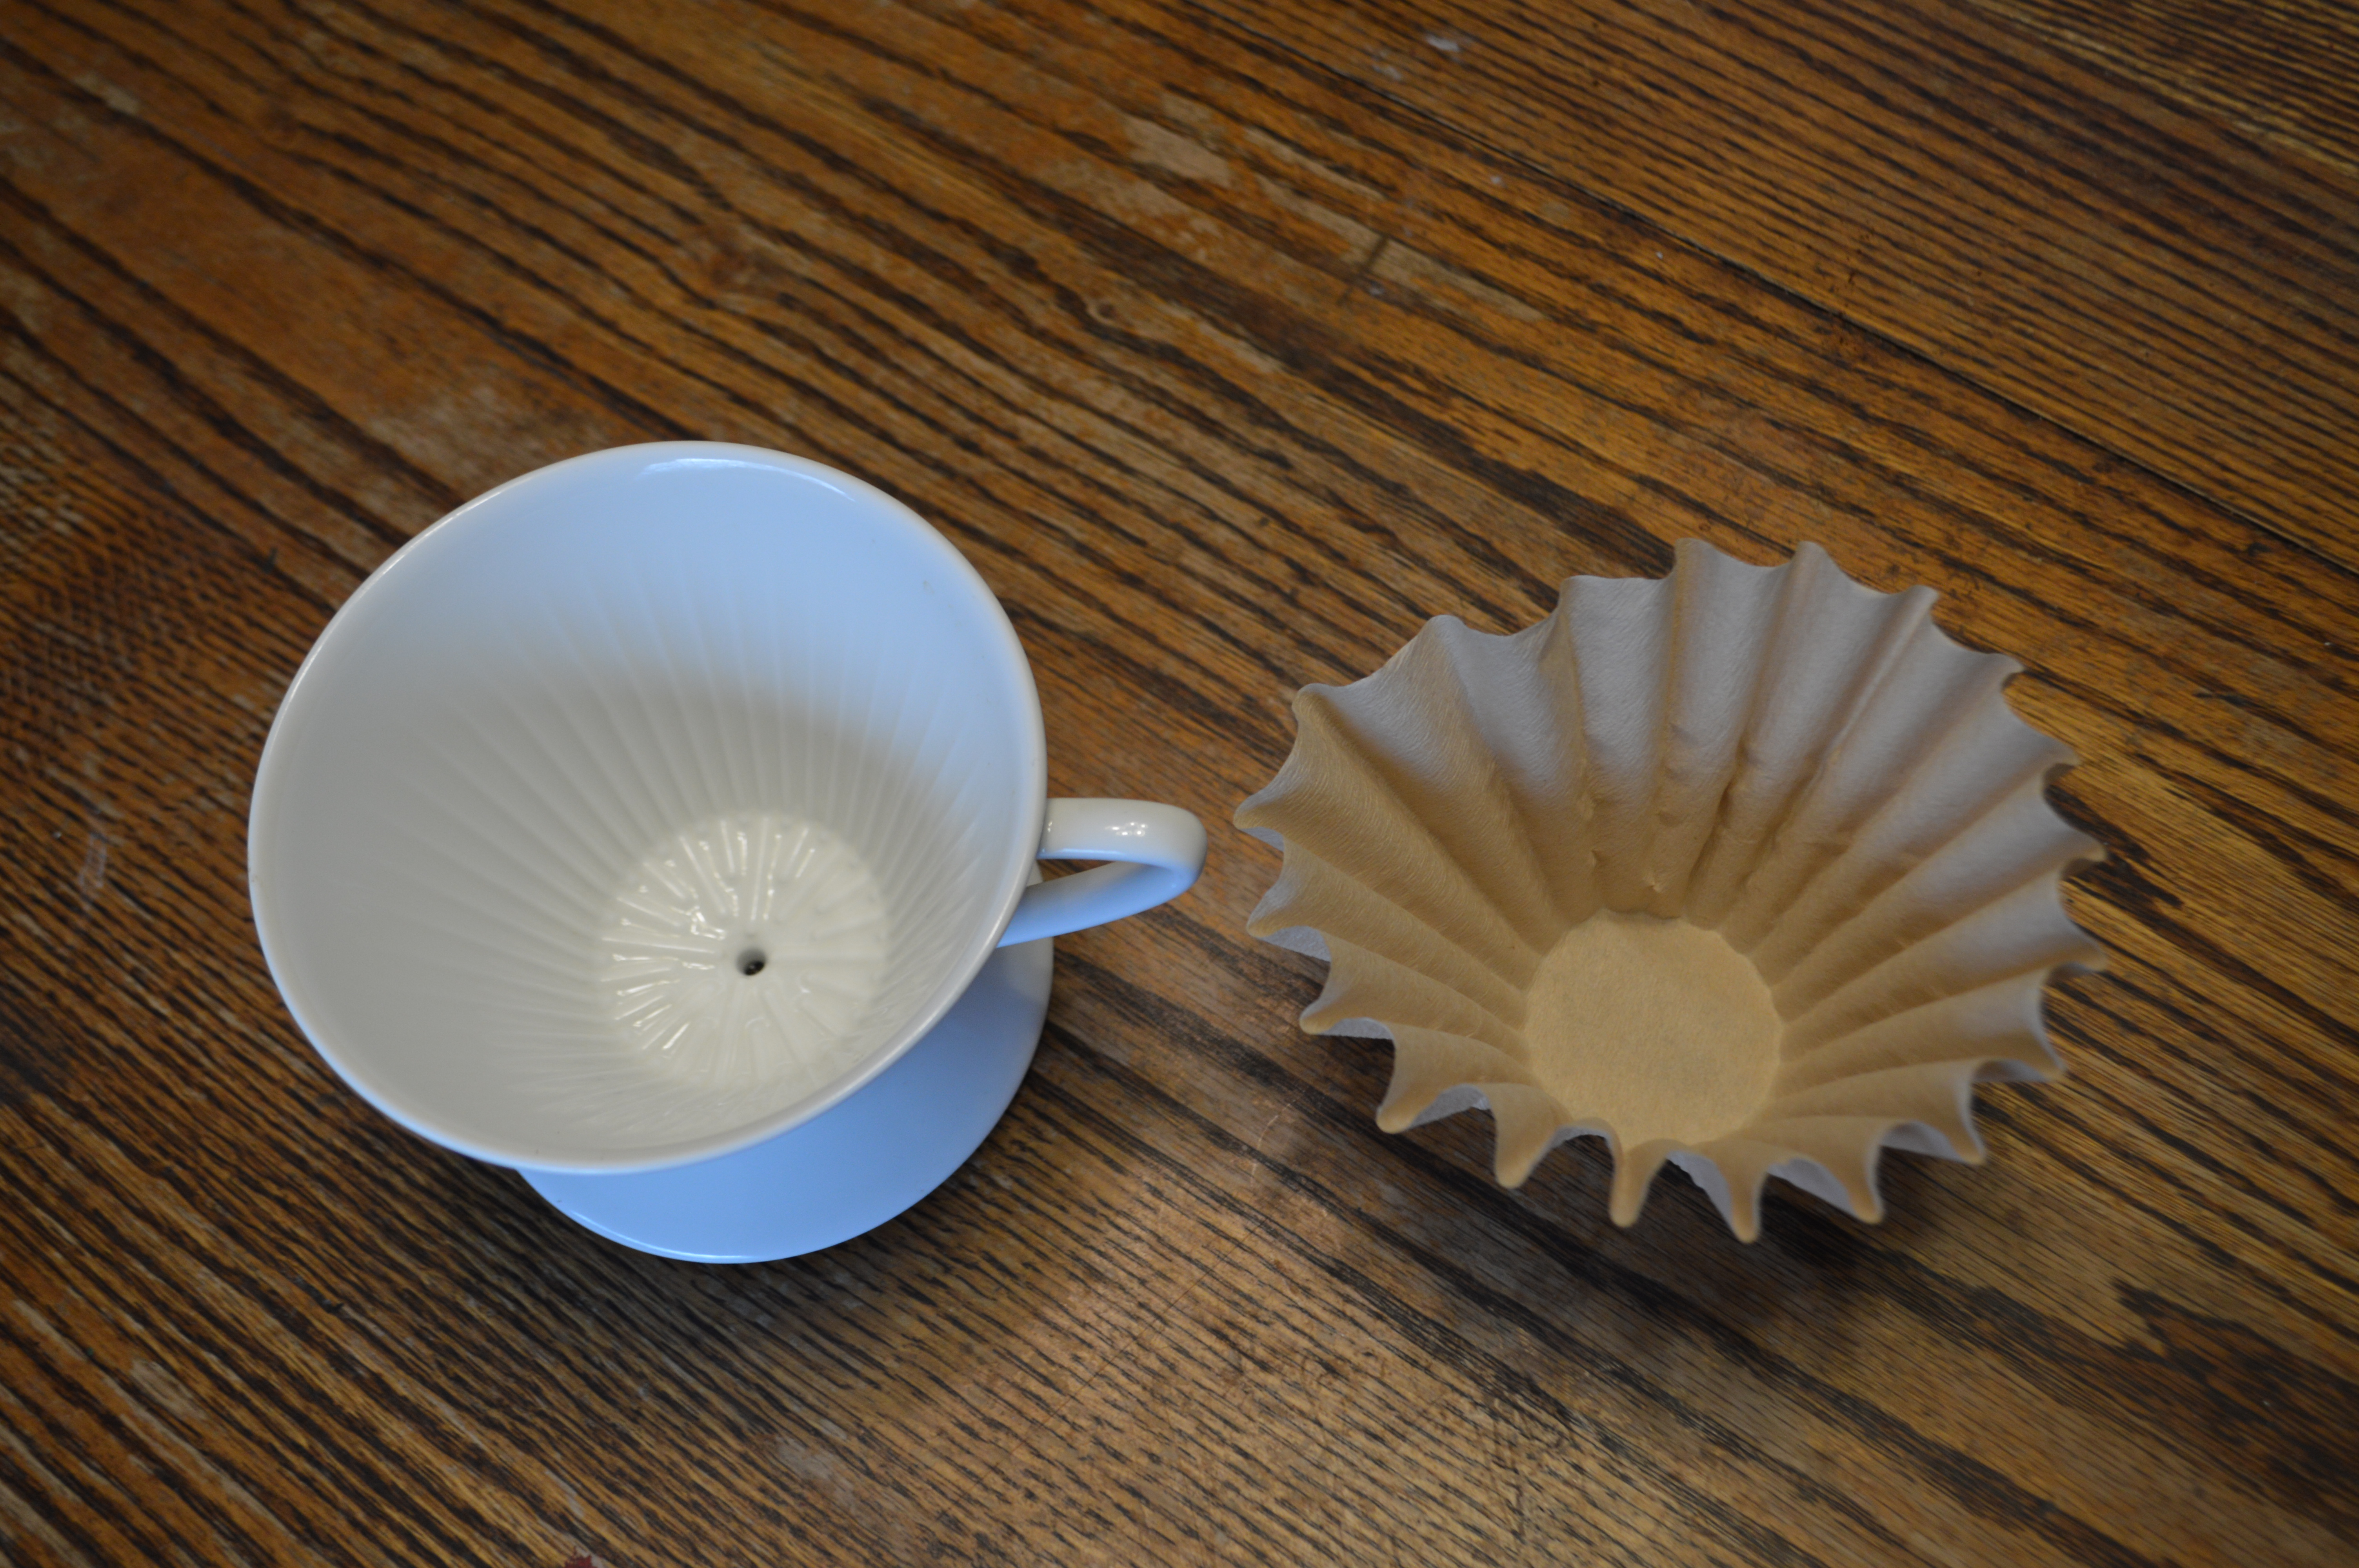 These ridges work with the water to ensure an even extraction. They liken it to the way a tree transports water from the roots to the leaves. There is also only a single hole that works with the ridges to produce a steady stream of coffee. Another notable difference involves the filters. According to Blue Bottle Coffee the filters are made of 90% unbleached pulp and 10% bamboo. The filters also have ridges that allow for the filter to naturally adhere to the walls of the vessel. Unlike most other filters it is not necessary to pre-wet before use.
This pour over method is a unique experience. We begin with 22-30g of ground coffee. Blue Bottle recommends a medium grind, with the particles roughly the size of sea salt. 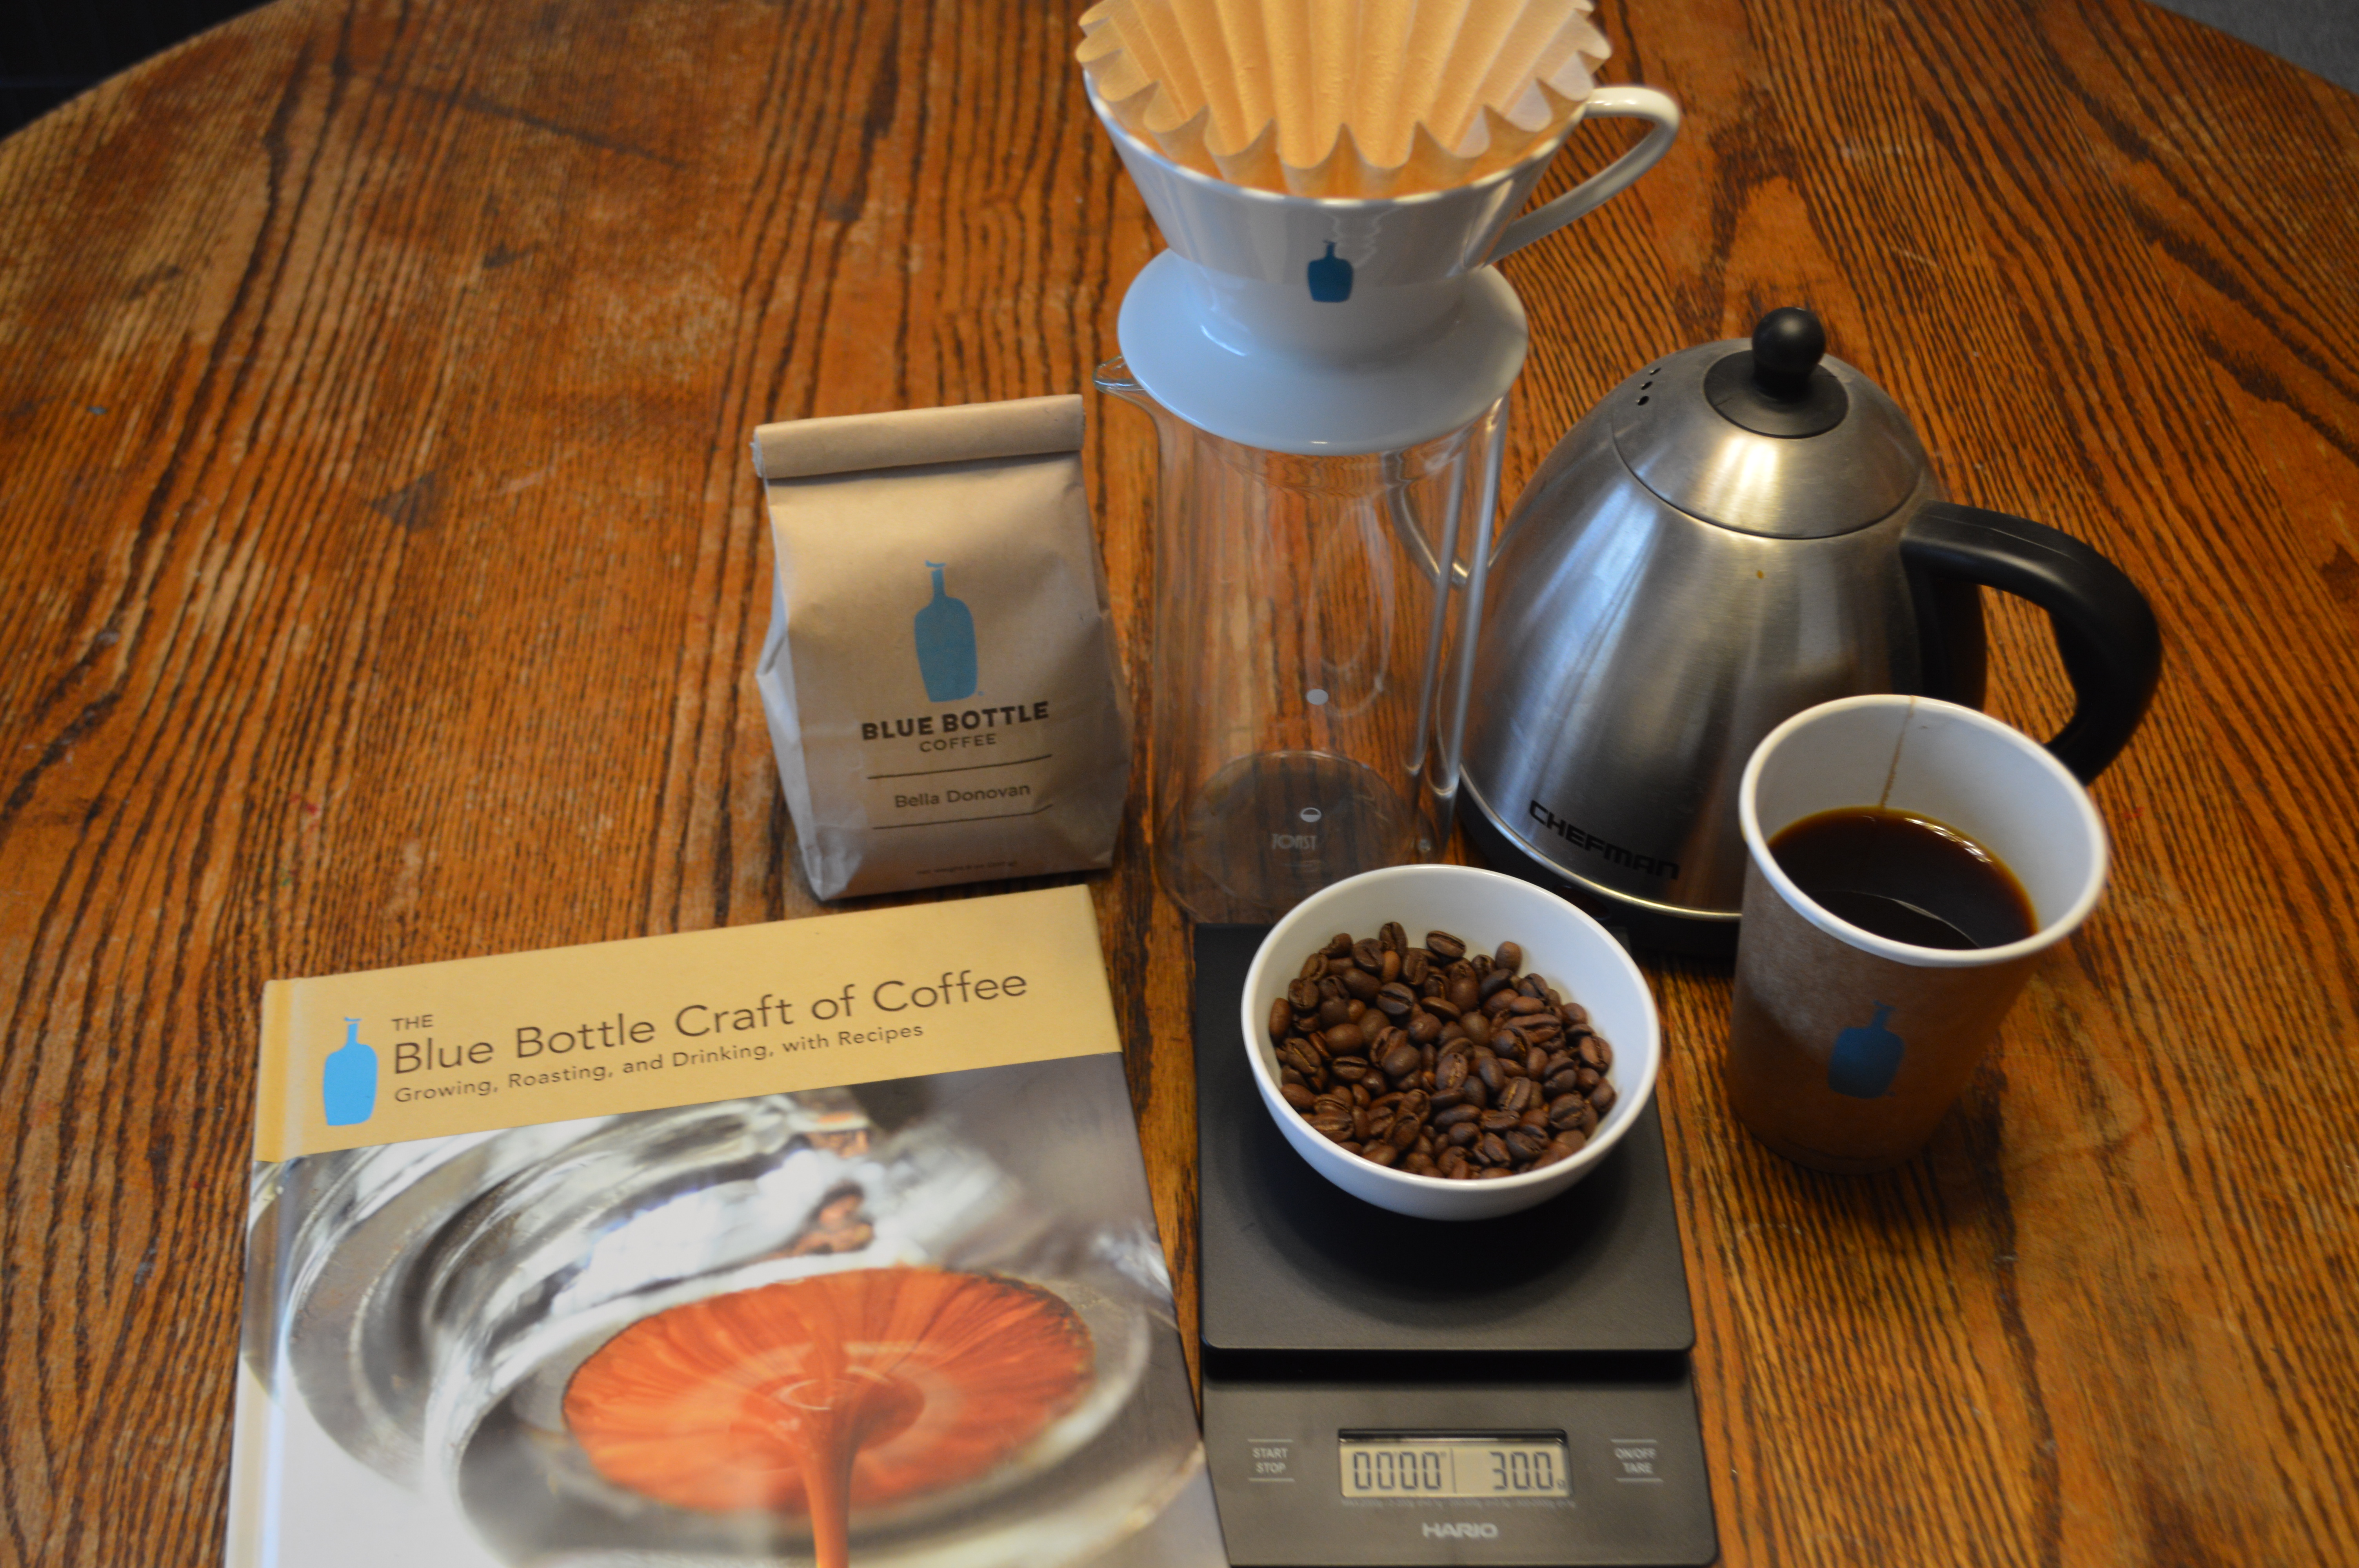 The amount of coffee recommended depends on whether the coffee is single origin (about 22g) or a blend (about 30g). I chose to use 30g of their Bella Donovan blend. Next you will need water, they recommend at least 600 grams. Place your carafe (or cup), dripper, and filter with coffee on to your scale, and tare it. I use a Hario V60 drip scale which measures to the tenth of a gram and includes a timer.
First, we will bloom the coffee by doubling the amount of water to grounds. In this case I used 60g of water to the 30g of coffee. In Blue Bottle's book The Blue Bottle Craft of Coffee, the authors explain that coffee can hold about double its weight in water.  This means that when you bloom your coffee properly there should not be any water that escapes from the bottom. This pouring method encourages you to start from the outer rim in a spiral towards the center. Note that this is not that standard pour over method that you may be used to. Do not panic if you see bubbles coming from the bloom, that just means the CO2 is releasing properly and your coffee is fresh/freshly ground.
After 30-40 seconds of allowing the coffee to bloom add water in a spiral 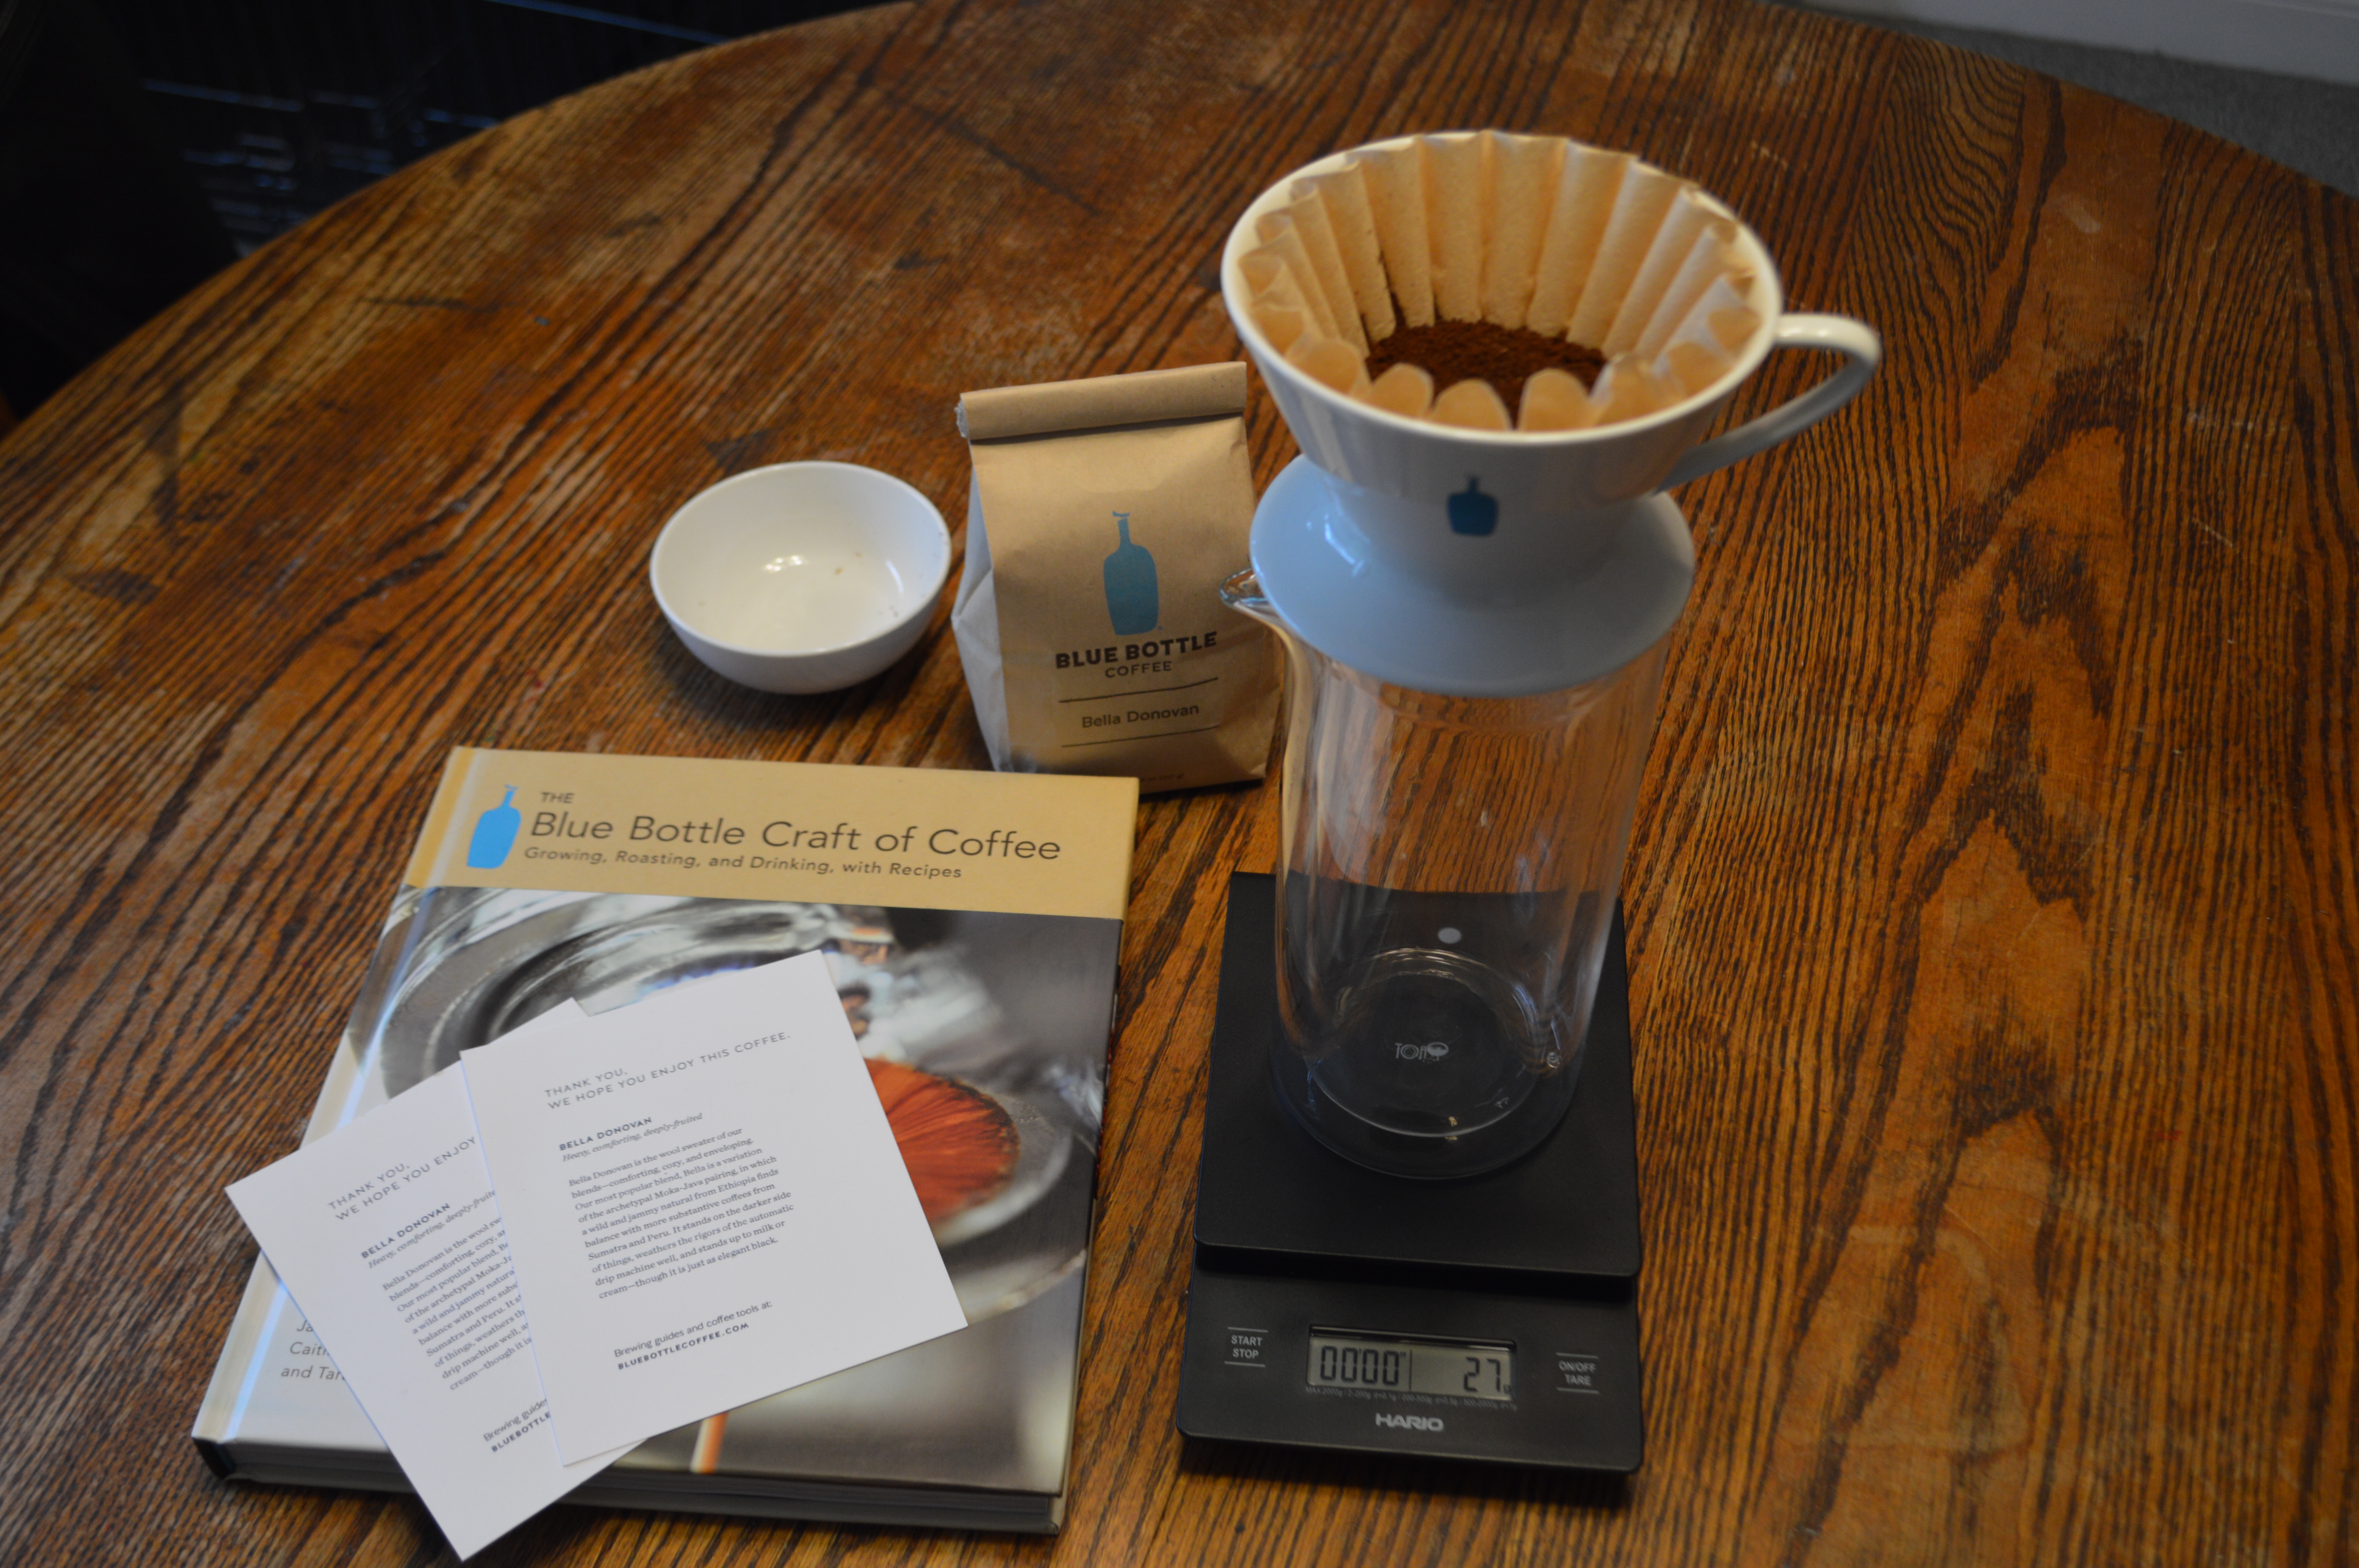 from the middle to the outer edge and then back until you have reached 150g. At around 1 minute and 20 seconds you will follow the same pattern to 250g, and again at 2 minutes. The ideal brewing time for this vessel is about 3 minutes.
A few key things to remember: You want to hit the ridges of the filter in your spirals. The desired ground bed should be flat after extraction. You do not need to stir with this pour over method if you add your water in a spiral motion each time as this acts as stirring. And do not pre-wet your filter!